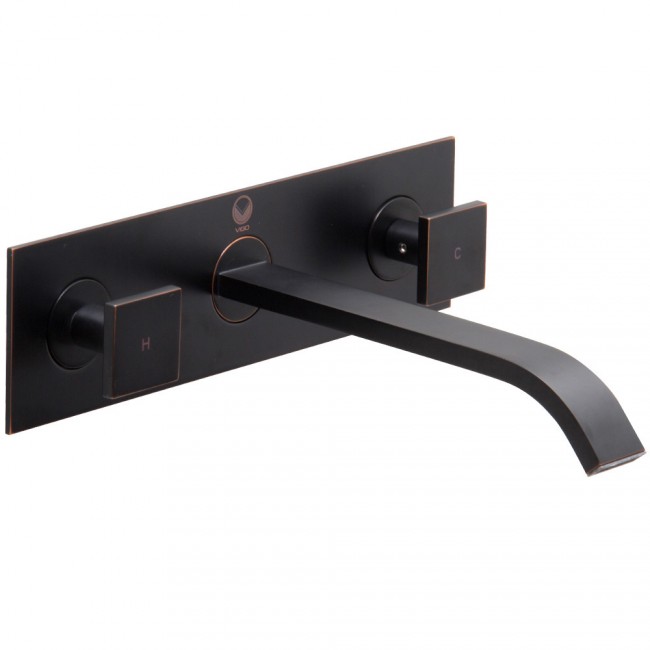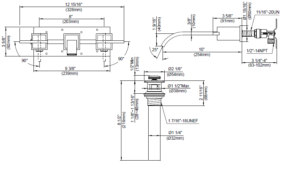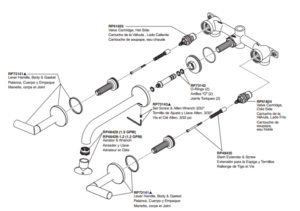
- Before you begin, read the installation instructions below. Observe all local plumbing and building codes.
- For the following installation instructions for your new shower head it is assumed that any old fixtures have been removed and all rough-in work has been completed.
- Unpack and inspect the shower head for any shipping damages. If you find any damages, do not install. Contact Customer Service at 800-297-0232. If you need assistance while installing your new shower head, call Customer Service.
We recommend consulting a professional if you are unfamiliar with installing bathroom fixtures and plumbing. Shut off the water supply lines where the new shower head is being installed.
TOOLS AND MATERIALS:
- Groove Joint Pliers
- Adjustable Wrench
- Plumber’s Tape
- Dry Cloth
- Phillips Screwdriver
- Silicone Sealant
- Damp Cloth
- Allen Wrench (provided)


INSTRUCTIONS
1. Remove the wall mount couplers from the faucet by unscrewing the large hex nuts behind the faucet handles.
2. Place thread sealant or plumber’s tape on the ½” pipe nipples protruding from the wall.
3. Run a bead of silicone sealant along the base of the wall couplers.
4. Thread the wall couplers onto the ½” pipe nipples.
5. Make sure the bases of the couplers are firmly against the wall and that the couplers are aligned properly. Wipe away any excess sealant with a damp cloth.
6. Place the faucet body on the wall couplers. Hand tighten the coupling nuts to secure.
7. Install the hand shower and nozzle and any rubber sealing gaskets included.
8. When your faucet installation is complete, turn on the water supply. Check to make sure that all connections are tight (no water should be leaking) and that the hot and cold supplies are working correctly. Turn the water on and allow the water to flow through the spout for approximately 60 seconds. Allen Wrench (provided) Level Thread Sealant Silicone Sealant
