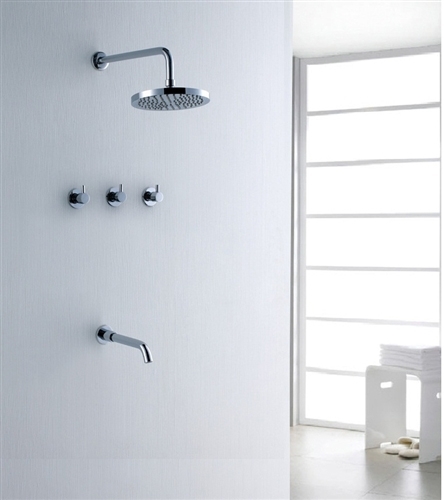
INSTALLATION INSTRUCTIONS
For assembly you will need:
Adjustable spanner, Belt key, Tube coupling ½”, Sealing putty.
ASSEMBLY INSTRUCTION –
SHOWER HEAD INSTALLATION
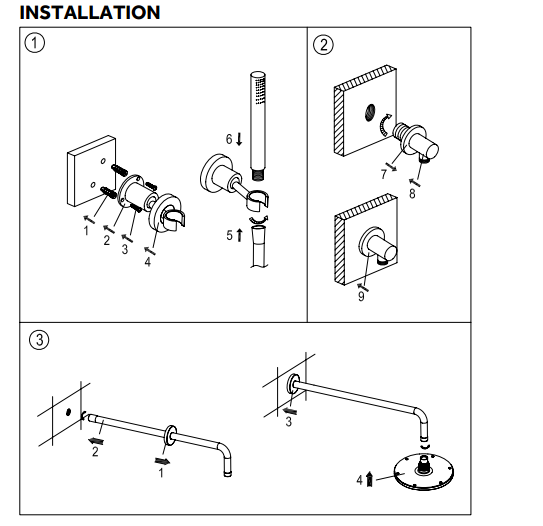
1. Apply plumber’s tape to the threads on both ends of the shower arm and slide on the decorative escutcheon.
2. Insert the new arm into the fitting in the ceiling and twist to tighten. Finish tightening with your adjustable wrench. Wrap a dry cloth around the shower arm to protect the finish while tightening with adjustable wrench.
3. Thread the new shower head onto the arm and hand-tighten. Hold the shower arm in place with groove joint pliers and finish tightening the shower head with your adjustable wrench. Wrap both in a dry cloth to protect the finish.
4. Before securing the decorative escutcheon, turn on the water supply to make sure that all connections are tight and there is no leaking. If no leaks are detected, continue with the installation. If leakage does occur, use your adjustable wrench to tighten the connections as necessary. If problems persist, contact Customer Service.
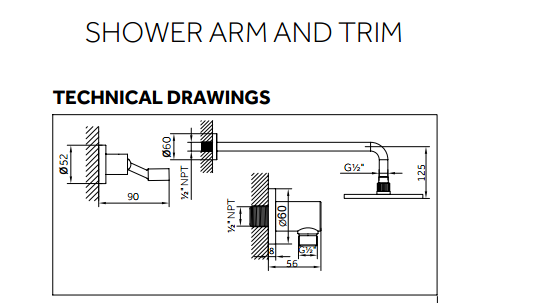
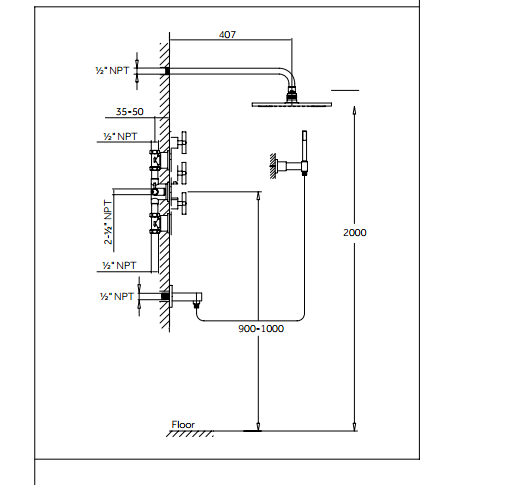
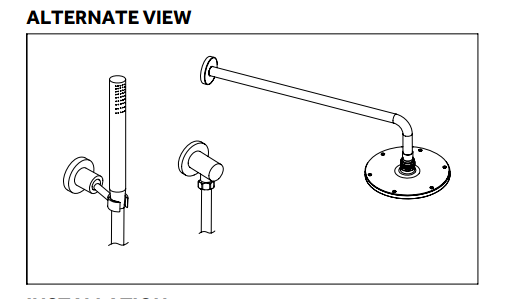
Cleaning the outer coating: dirt or stains on the external surfaces of the product resulting from scale deposits should be removed by washing the product with soapy water only.
Scale deposits should be dissolved with vinegar then the surface rinsed with clean water and rubbed dry with a soft cloth; under no circumstances should the surface of the product be cleaned with coarse cloths or cleaning agents containing abrasive materials or acids; plastic or lacquered parts must not be cleaned with chemicals containing alcohol, disinfectants or solvents
THERMOSTATIC VALVE INFORMATION
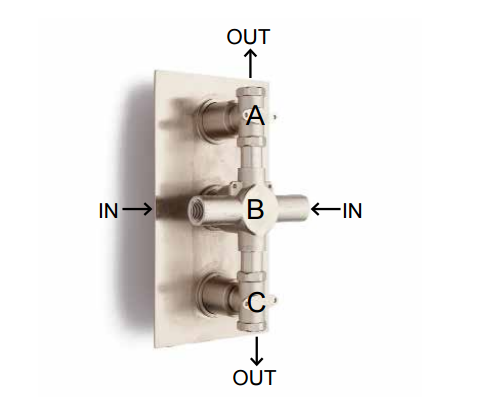
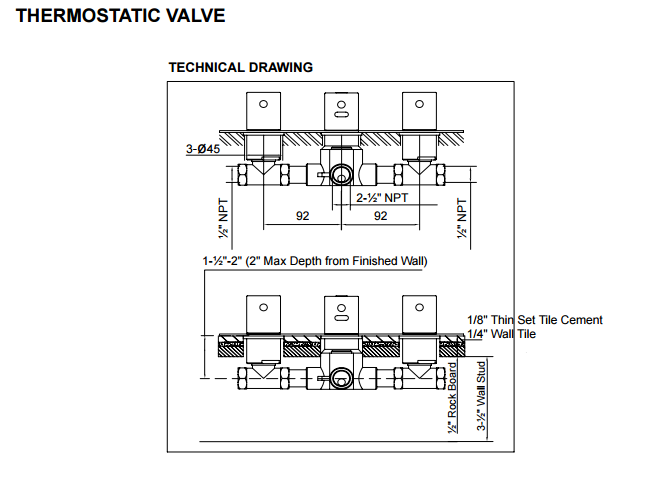
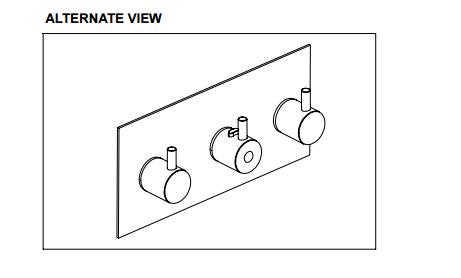
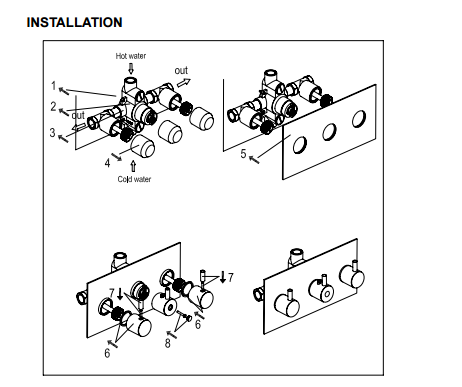
- The thermostatic shower system features three valves that allow you to keep water temperatures consistent each time the shower is used and create a customised shower system.
- Valves A and C are attached to the rainfall shower head and hand shower. These valves operate independently from one another allowing both outputs to be used at one time.
- Valve B connects conventionally to your hot and cold water supply with the hot water on the left and the cold water on the right and is used to control the water temperature.
Tub Spout Installation
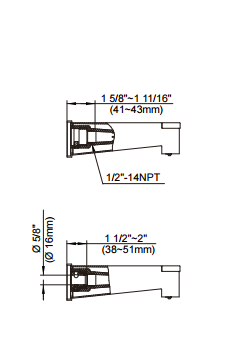
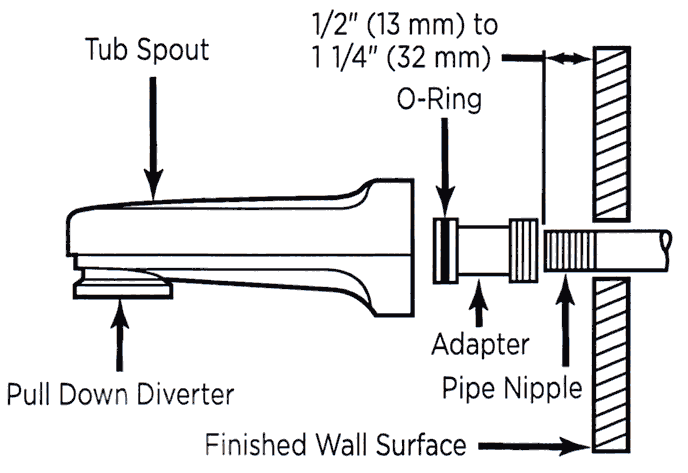
Note: If your pipe nipple projects out the maximum of 1-1/4″ as described in step 1, the brass adapter will thread on approximately 1/2″ leaving the back of the brass adapter less than a 1″ projection from the wall.


