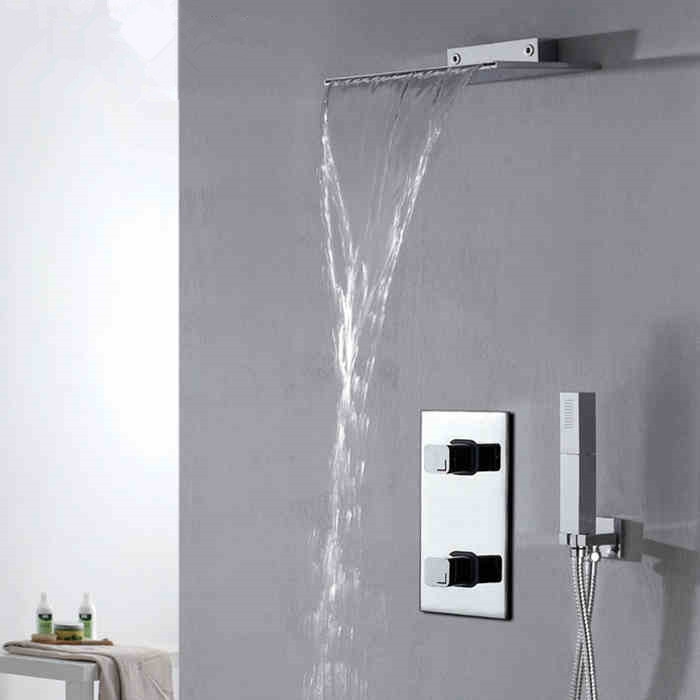
General Installation Instructions
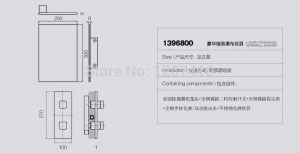
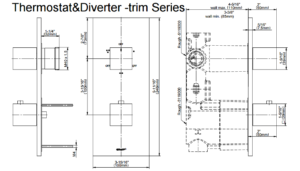
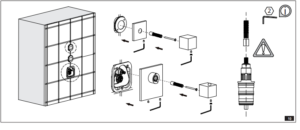
TOOLS AND MATERIALS:
- Screwdriver
- Teflon Tape
- Adjustable Wrench
- Smooth Joint Pliers
- Soft Cloth
- Silicone Sealant
INSTALLATION
1. Attach the upper wall support to the shower wall using a drill and the mounting hardware provided. Use a level to ensure that the shower riser is perfectly straight.
2. Place thread sealant on the ½” pipe threads in the shower wall and thread on the mounting nuts. Allow sealant to cure for 24 hours before use.
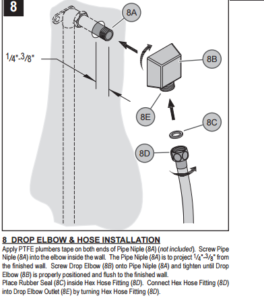
3. Attach the hot and cold valve bodies and decorative escutcheons (if included) directly to the pipe threads. Tighten with an adjustable wrench to secure.
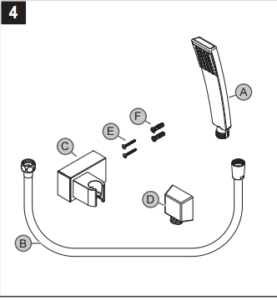
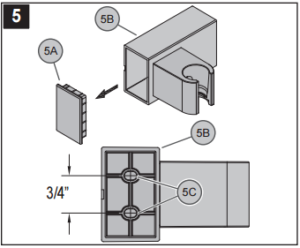
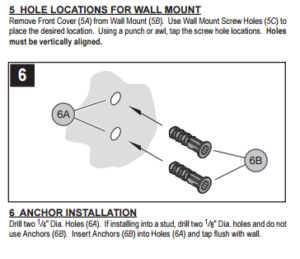
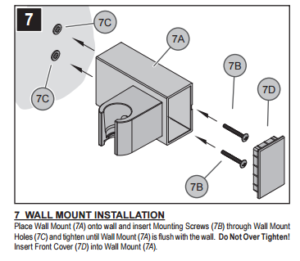
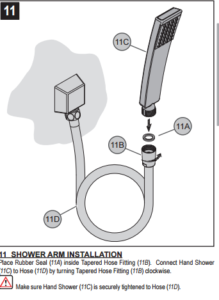
4. To install a hand-held shower, mount the cradle at a suitable height for the user with the hardware provided. Attach the hose to the faucet with any rubber washers or sealing gaskets included. If your system does not feature a hand-held shower move on to the next step.
5. Attach the shower head to the top of the riser and tighten with a smooth jaw wrench. Do not tighten more than ¼ turn beyond hand tight.
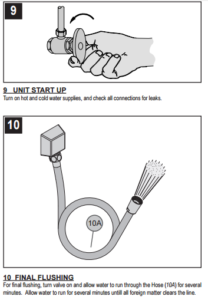
6. Turn on the water supply and open the faucet valves. Check for any leaks and verify that the hot and cold supplies are working correctly. Let the water flow through the riser pipe and shower hose for approximately 30 seconds to clear out debris and dirt.
Note: If leakage occurs, tighten connections with your adjustable wrench as necessary. If problems persist, contact Customer Service
