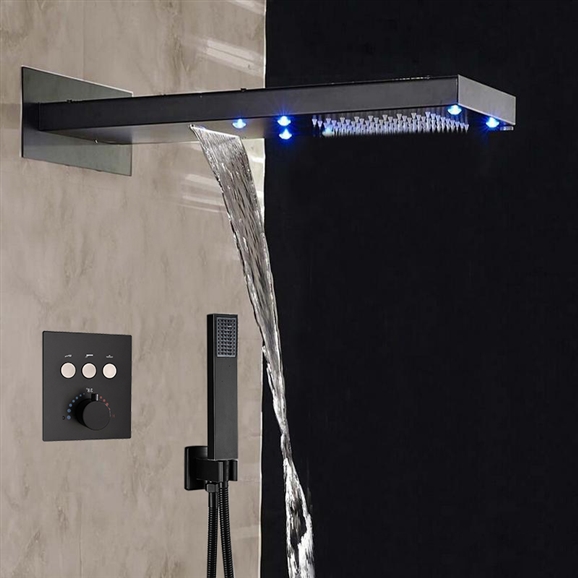
INSTALLATION INSTRUCTIONS
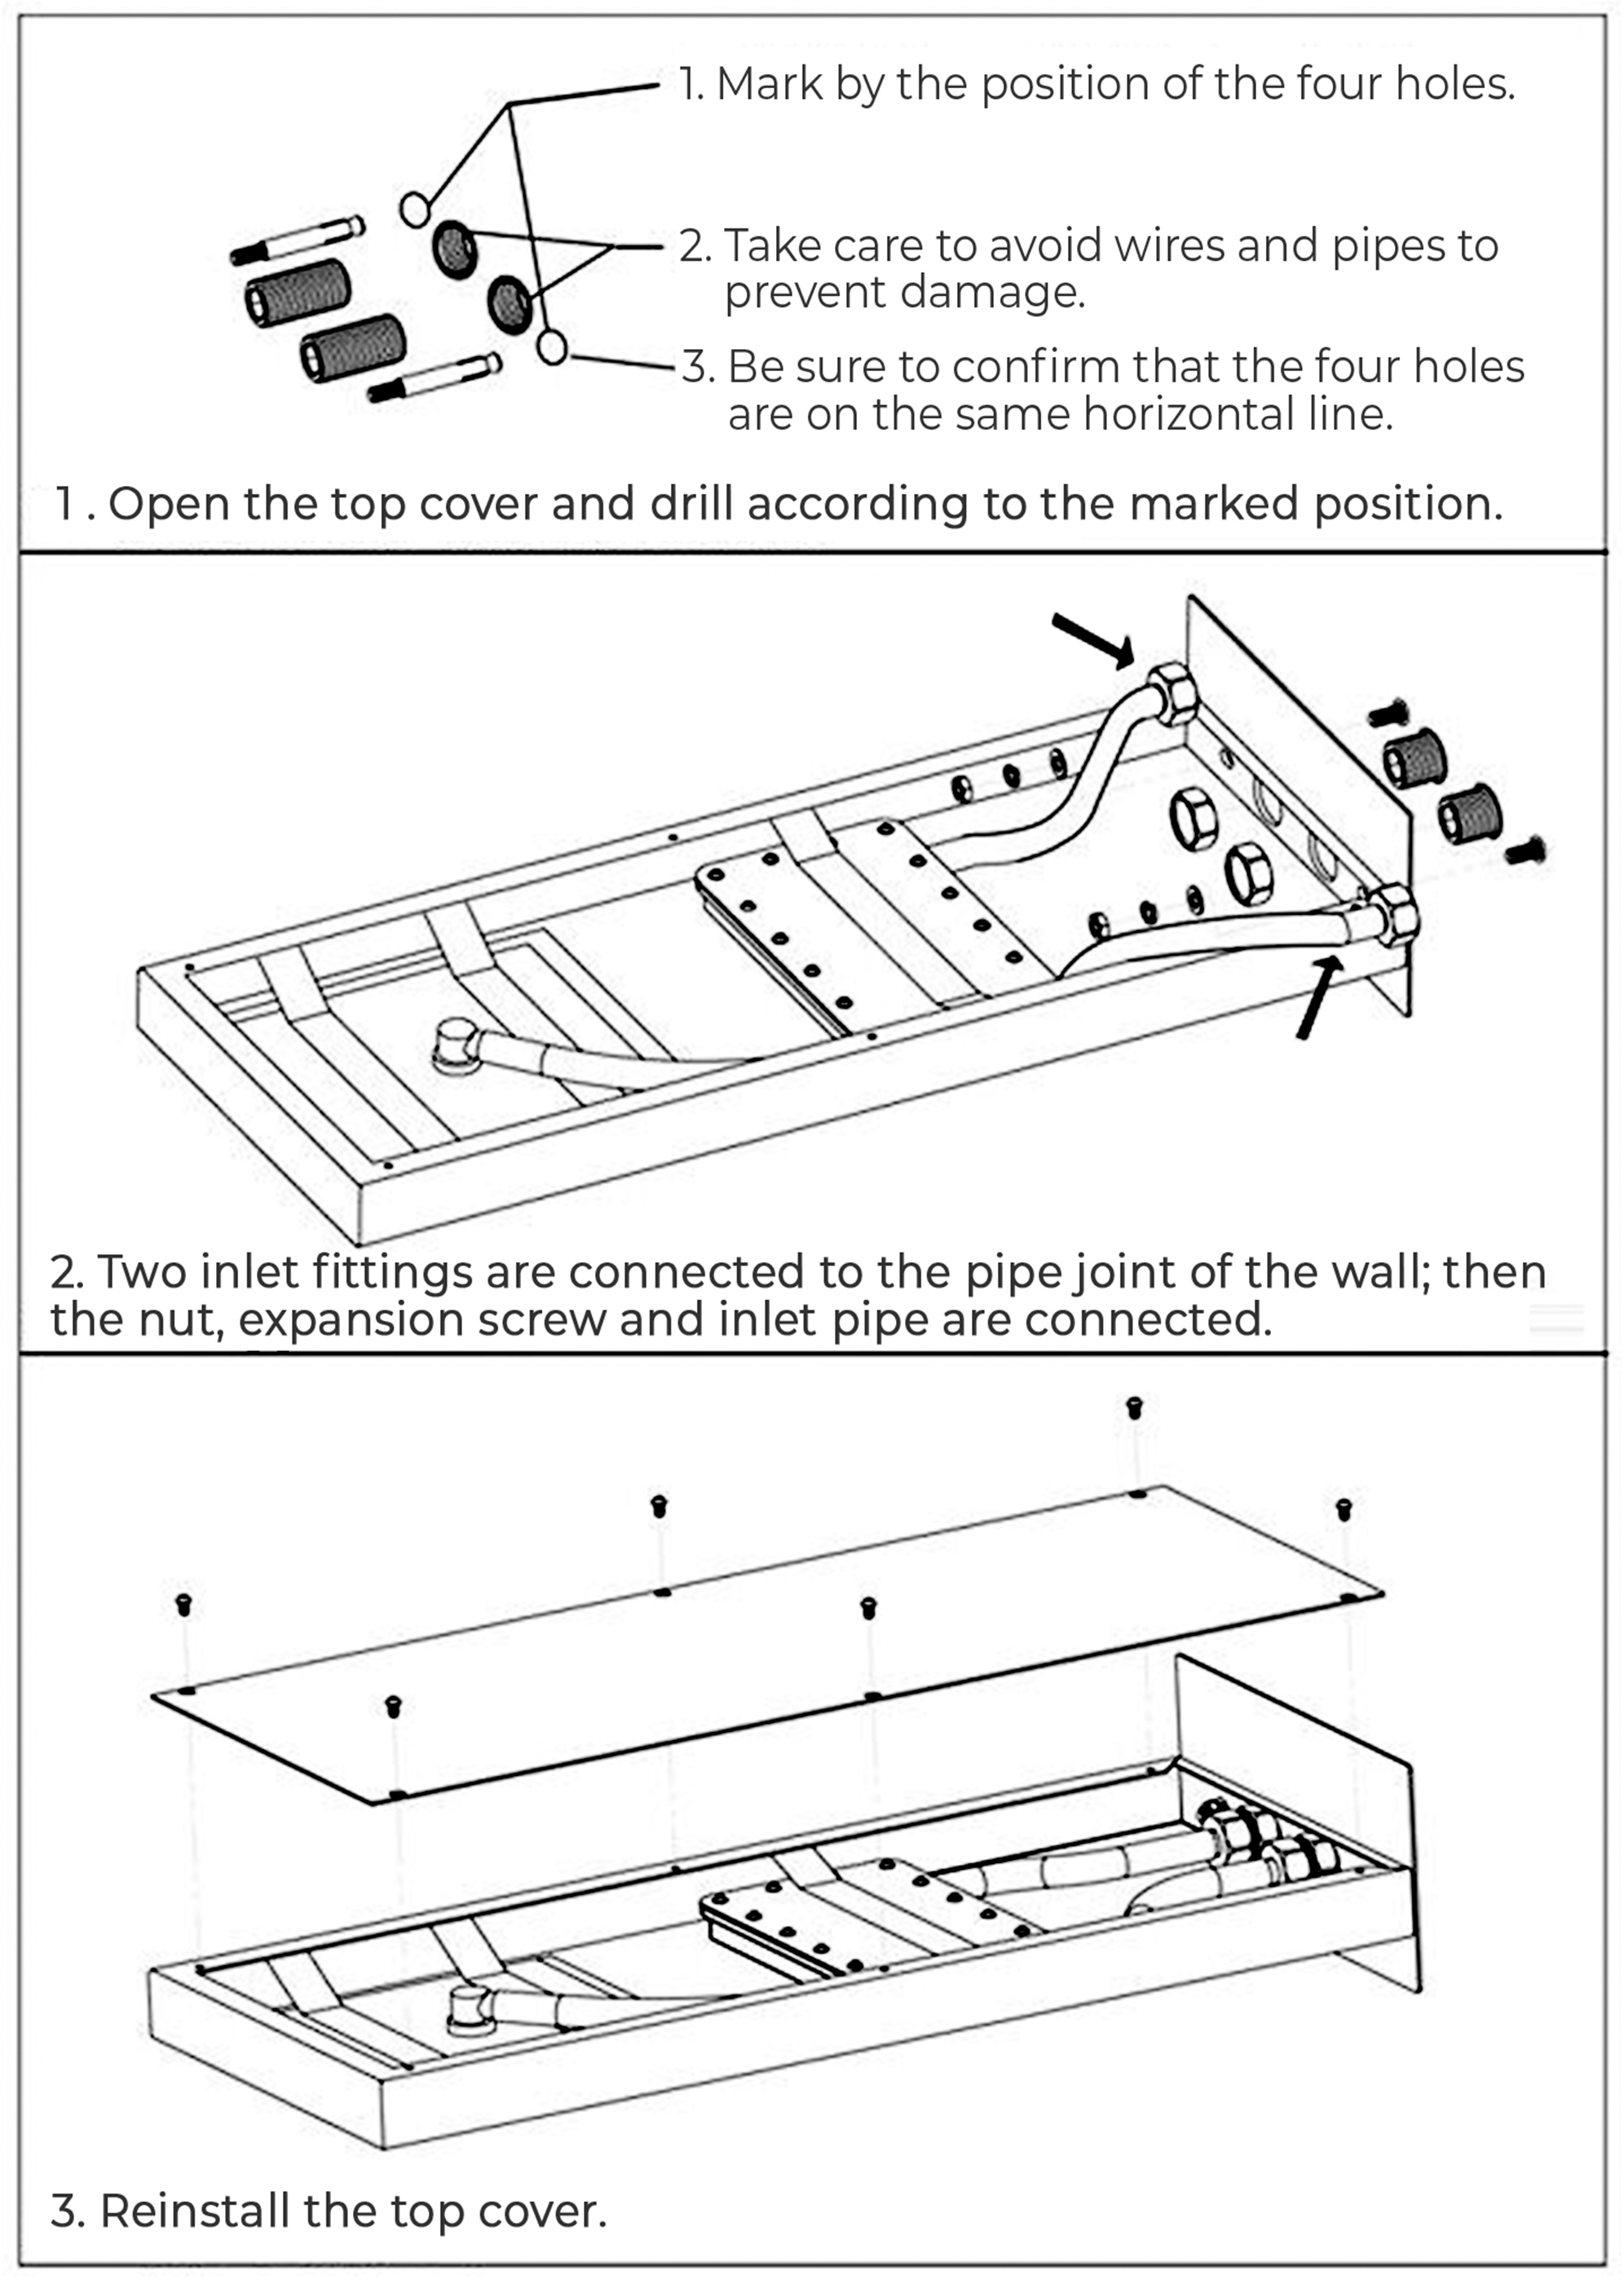
1. Open the top cover and drill according to the marked position.
- Mark by the position of the four holes.
- Take care to avoid wires and pipes to prevent damage.
- Be sure to confirm that the four holes are on the same horizontal line.
2. Two inlet fittings are connected to the pipe joint of the wall; then the nut, expansion screw, and inlet pipe are connected.
3. Reinstall the top cover.
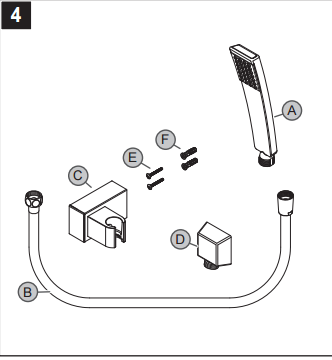
Hand-Held Shower
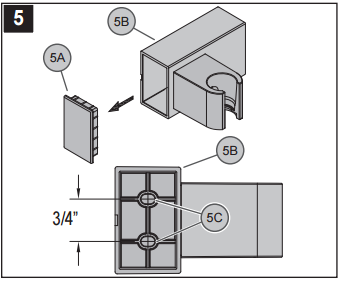
- HOLE LOCATIONS FOR WALL MOUNT
Remove Front Cover (5A) from Wall Mount (5B). Use Wall Mount Screw Holes (5C) to place the desired location. Using a punch or awl, tap the screw hole locations. Holes must be vertically aligned.
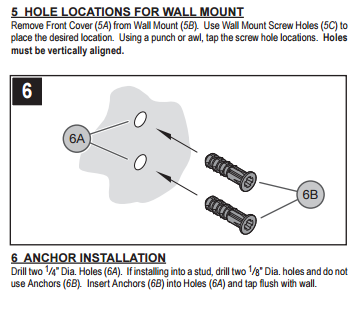
- ANCHOR INSTALLATION
Drill two 1/4” dia. Holes (6A). If installing into a studs drill two 1/8” dia. holes and do not use Anchors (6B). Insert Anchors (6B) into Holes (6A) and tap flush with wall.
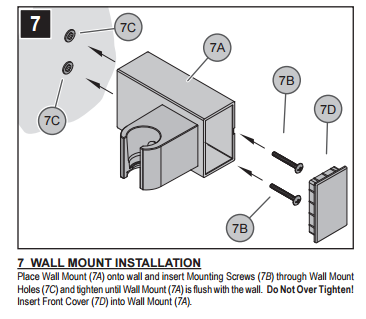
- WALL MOUNT INSTALLATION
Place Wall Mount (7A) into wall and inset Mounting Screws (7B) through Wall Mount Holes (7C) and tighten until Wall Mount (7A) is flush with the wall. Do Not Over Tighten! Insert Front Cover (7D) into Wall Mount (7A)
- DROP ELBOW & HOSE INSTALLATION
Apply PTFE plumbers tape on both ends of Pipe Nipple (8A) (not included). Screw Pipe Nipple (8A) into the elbow inside the wall. The Pipe Nipple (8A) is to project 1/4” – 3/4” from the finished wall. Screw Drop Elbow (8B) onto Pipe Nipple (8A) and tighten until Drop Elbow (8B) is property positioned and flush to the finished wall.
Place Rubber Seal (8C) inside Hex Hose Fitting (8D). Connect Hex Hose Fitting (8D) into Drop Elbow Outlet (8E) by turning Hex Hose Fitting (8D).
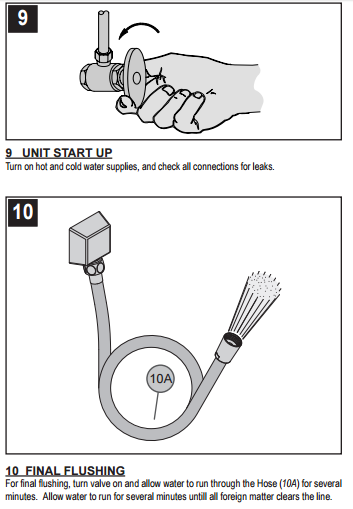
- UNIT STARTUP
Turn on hot and cold water supplies, and check all connections for leaks.
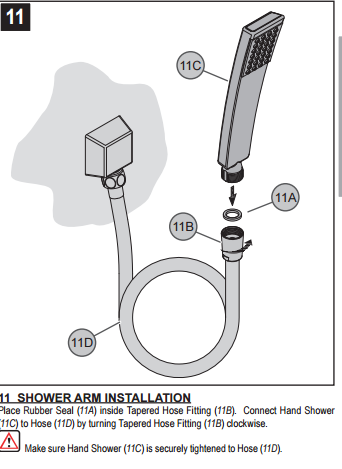
- FINAL FLUSHING
For final flushing, turn the valve on and allow water to run through the Hose (10A) for several minutes. Allow water to run for several minutes until all foreign matter clears the line.
11. SHOWER ARM INSTALLATION
Place Rubber Seal (11A) inside Tapered Hose Fitting (11B). Conned Hand Shower (11C) to Hose (11D) by turning Tapered Hose Fitting (118) clockwise.


