Installation Instructions
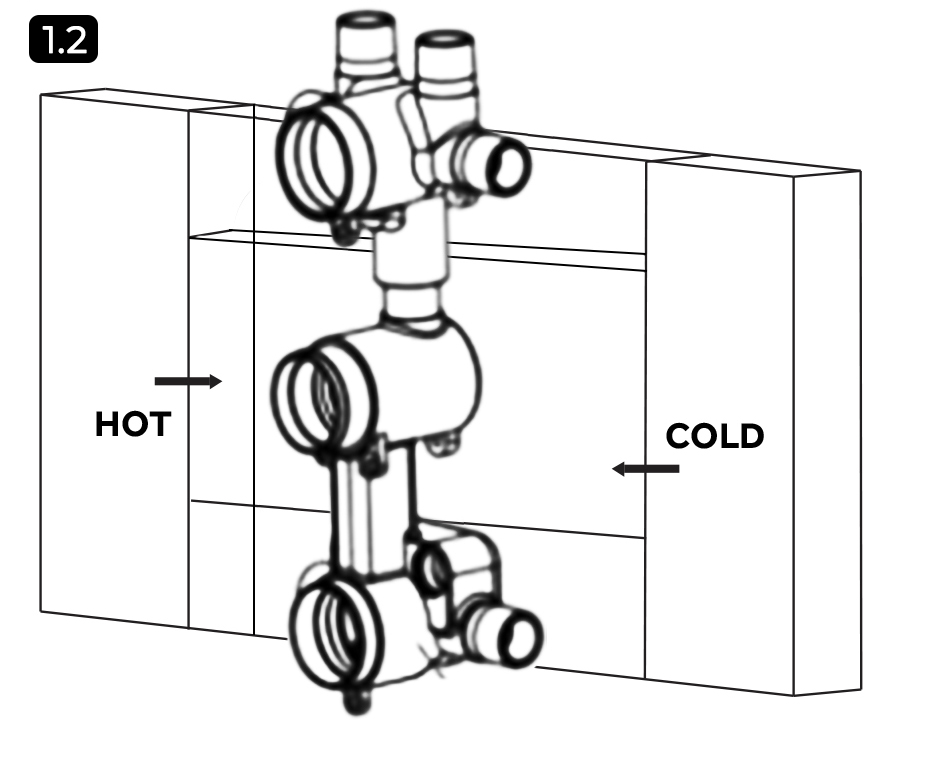
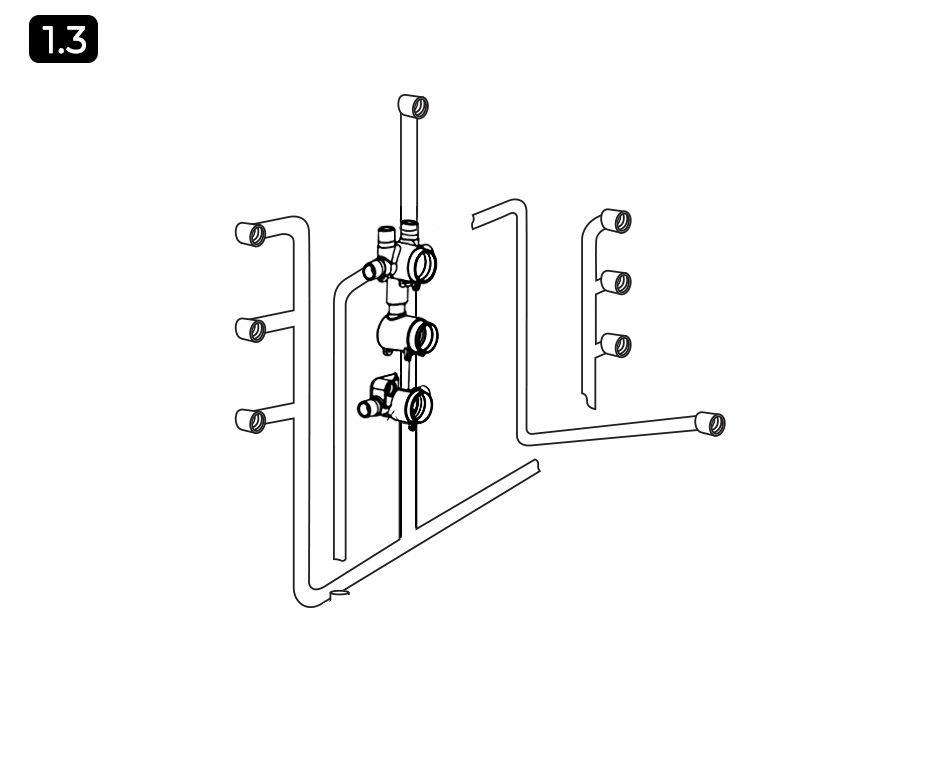
D) The functions routed to the 3-way diverter will not be able to be used simultaneously, but each can be used in conjunction with the function routed to the bottom outlet.
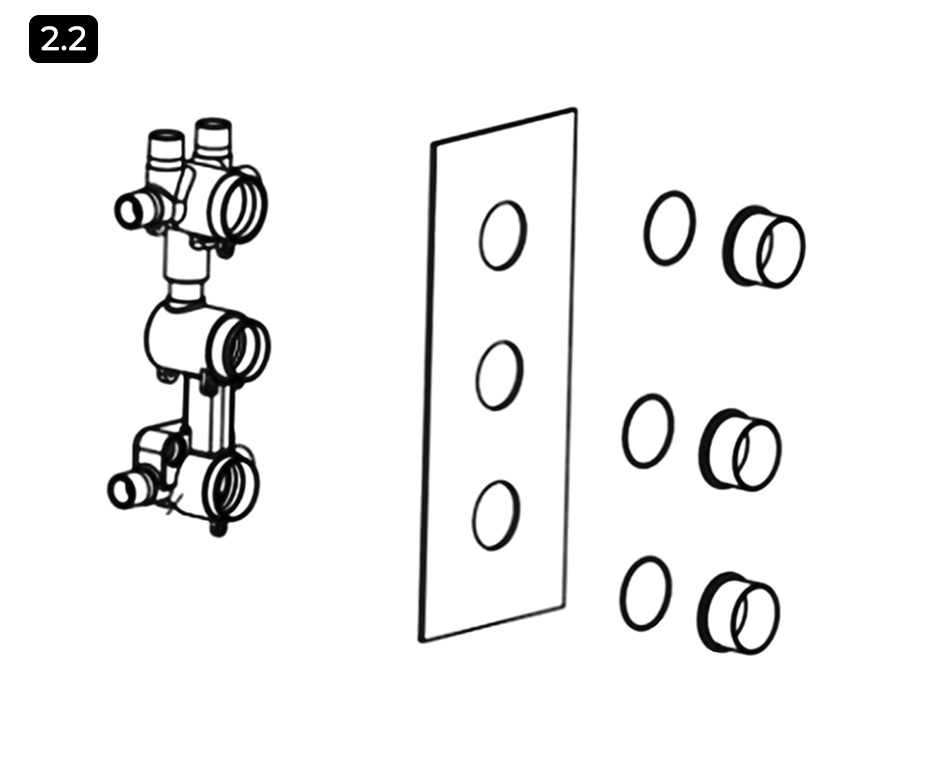
3. Attach the 3-way diverter handle to the top stem by sliding it onto the spindle and tightening the set screw underneath, using the provided hex wrench. Repeat these steps to install the bottom single-function handle.
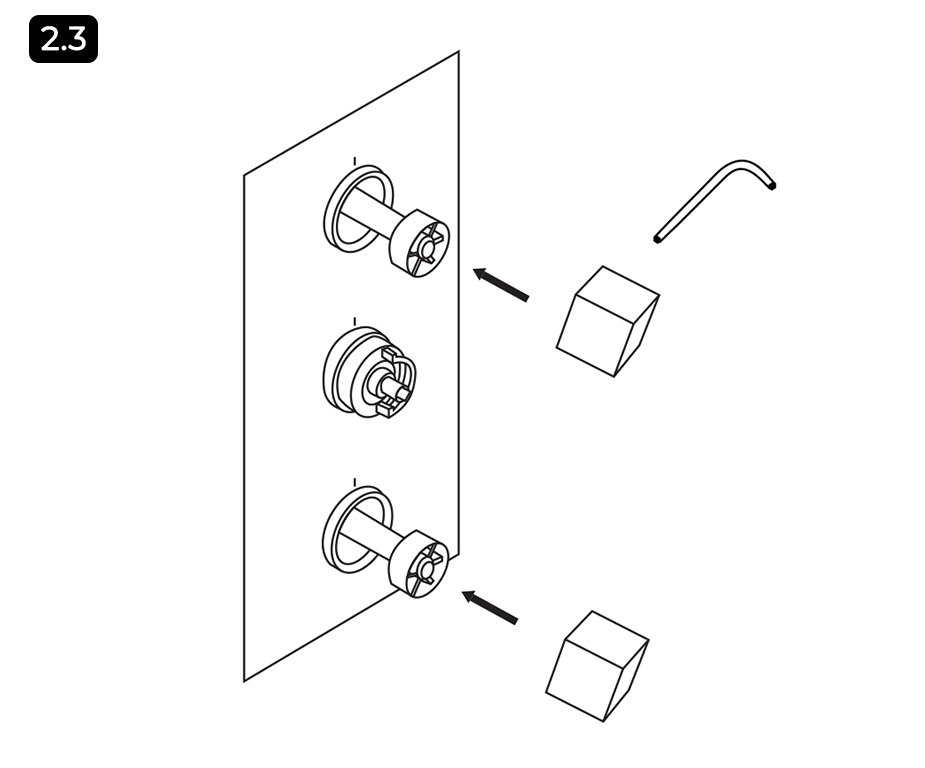
4. To install the temperature control handle, slide the handle onto the center valve stem. Attach the handle using the provided screw. Tighten with a Phillip’s screwdriver, then insert the decorative screw cover into the handle to conceal the screw head.
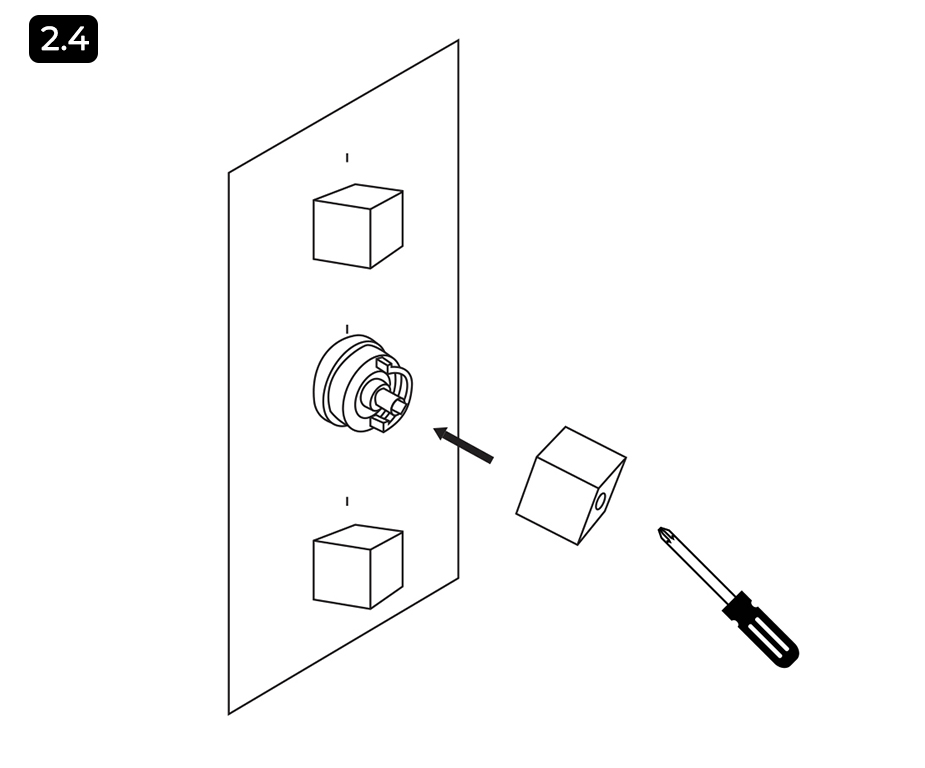
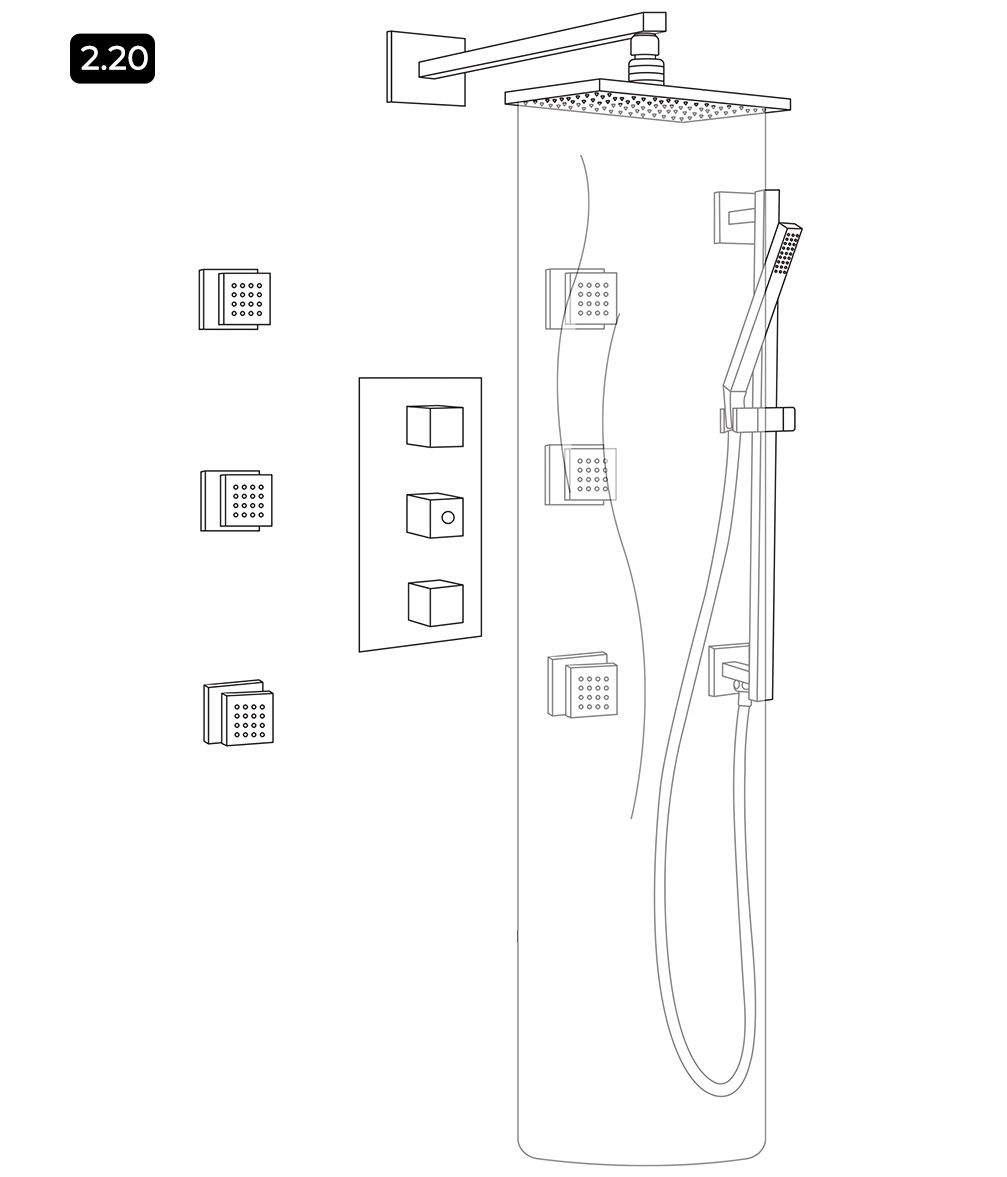
5. Install each of the body jets by threading them into their prepared female fittings. Be sure to use the decorative backplates to conceal the rough-ins. Apply thread sealant or plumber’s tape to the threads before tightening.
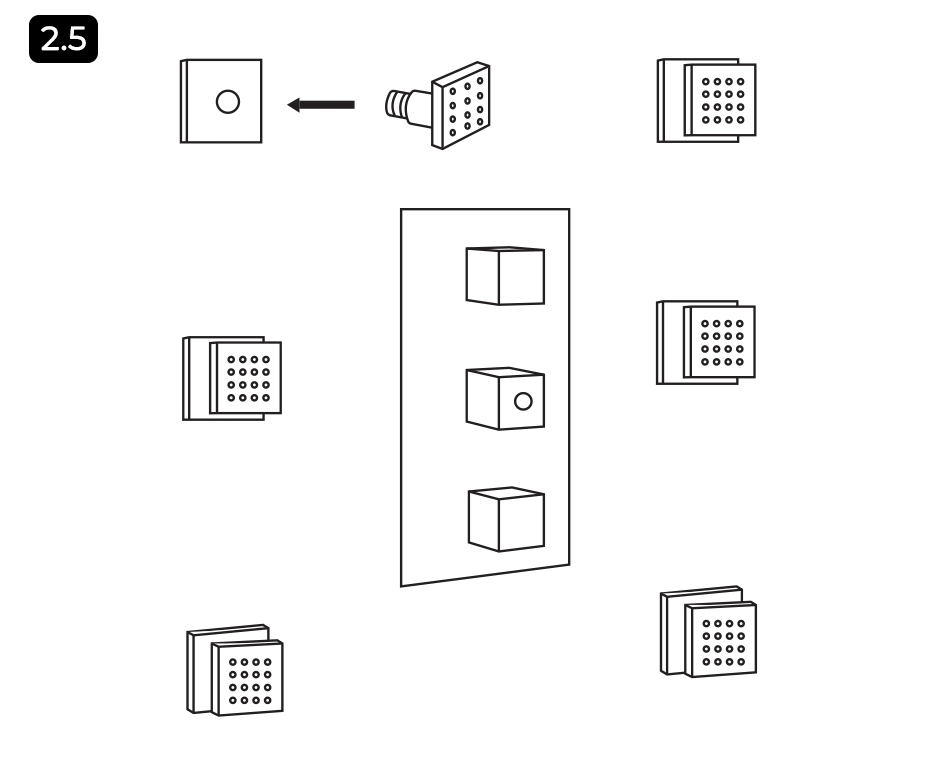
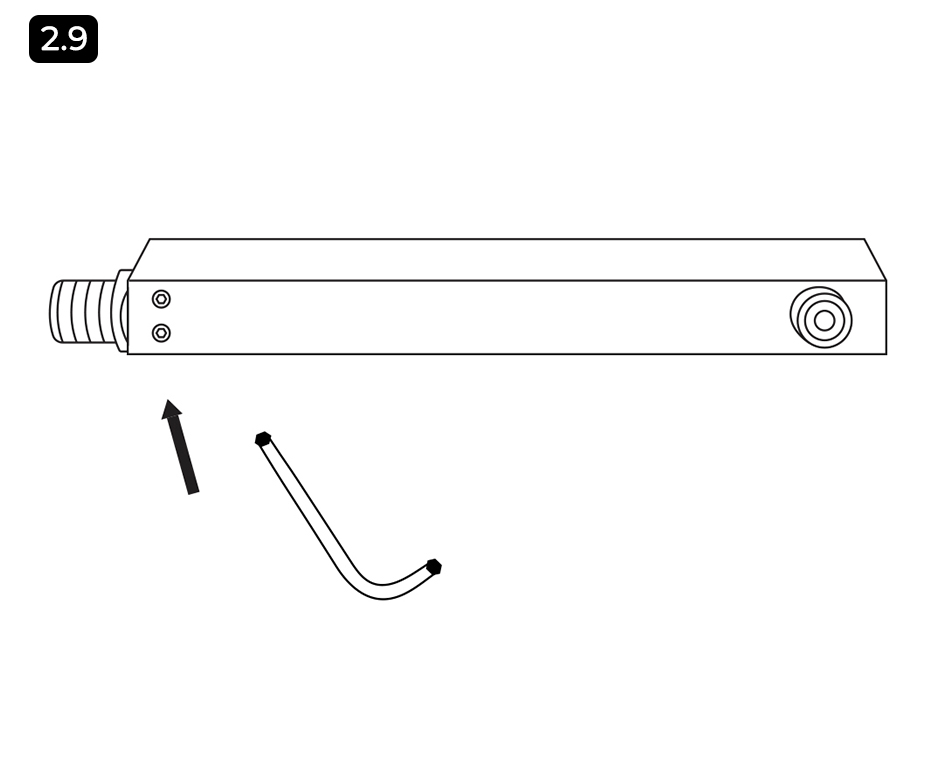
To install the shower arm, first, remove the brass nipple from the arm by loosening the two set screws underneath.
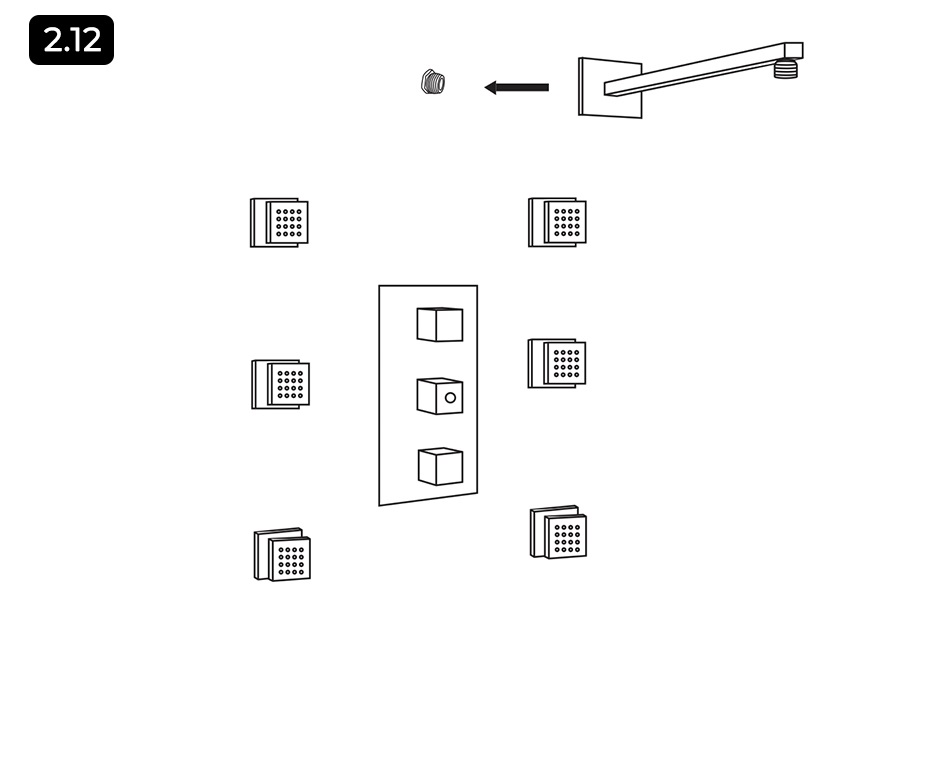
Thread the brass nipple into its prepared female fitting. Apply plumber’s tape or thread sealant to the threads before attaching. Tighten firmly using an adjustable wrench.
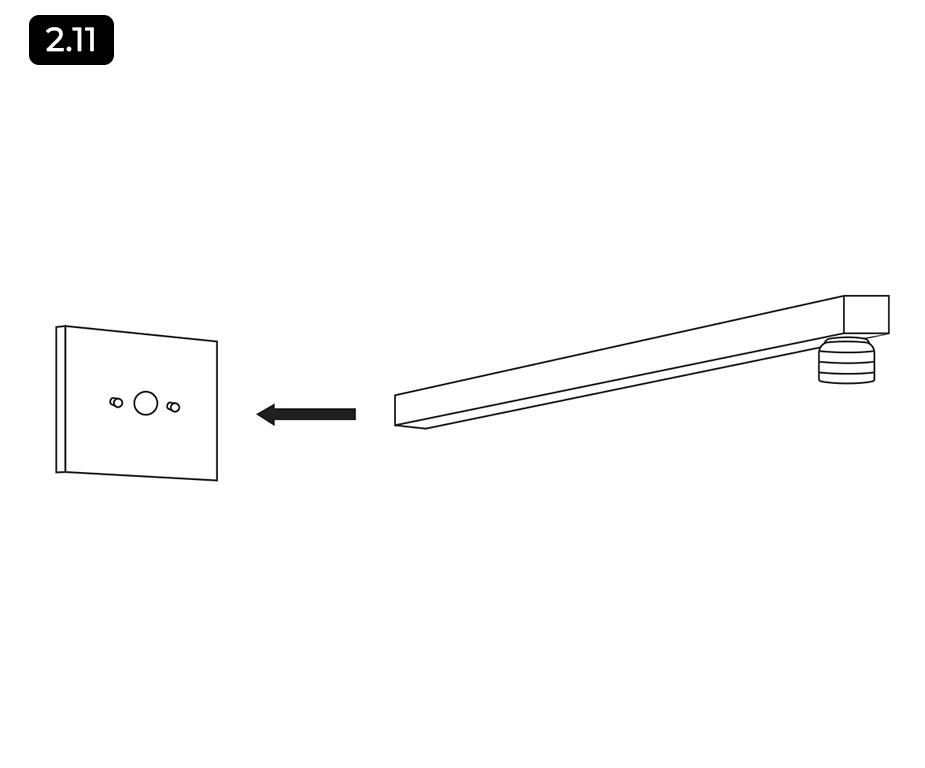
Attach the decorative backplate to the shower arm using the provided screws. Tighten the screws using a small flathead screwdriver.
To install the hand shower’s slide bar, first, remove the water supply elbow from the slide bar by loosening the set screw underneath. Remove the brass nipple from the elbow by unthreading it.
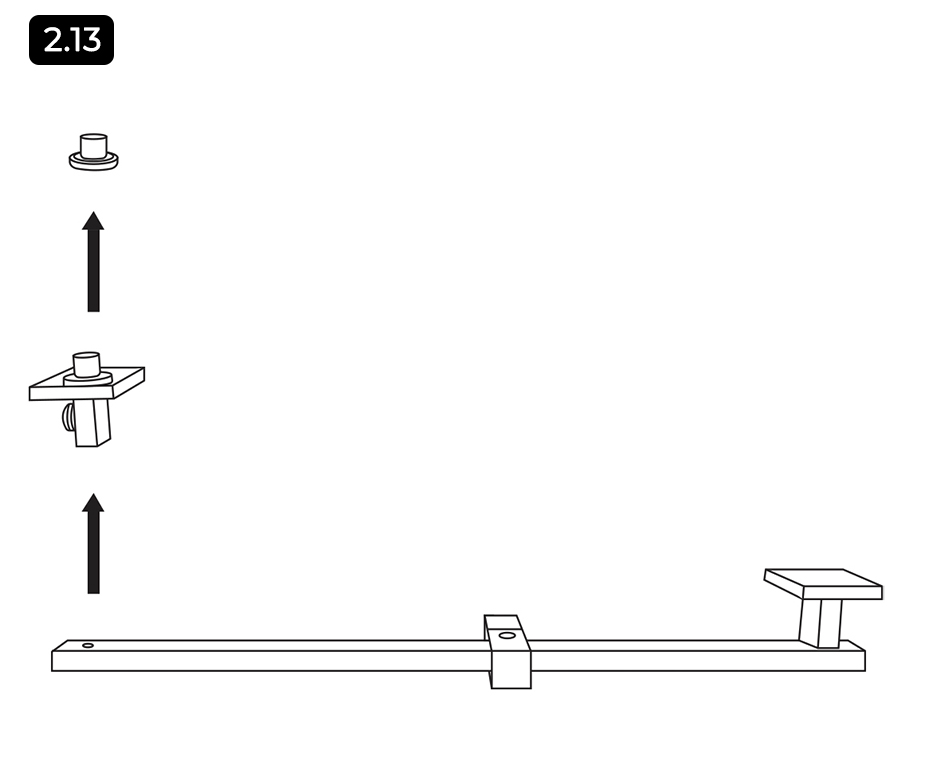
Thread the brass nipple into its prepared female fitting. Apply plumber’s tape or thread sealant to the threads before attaching. Tighten firmly using an adjustable wrench.
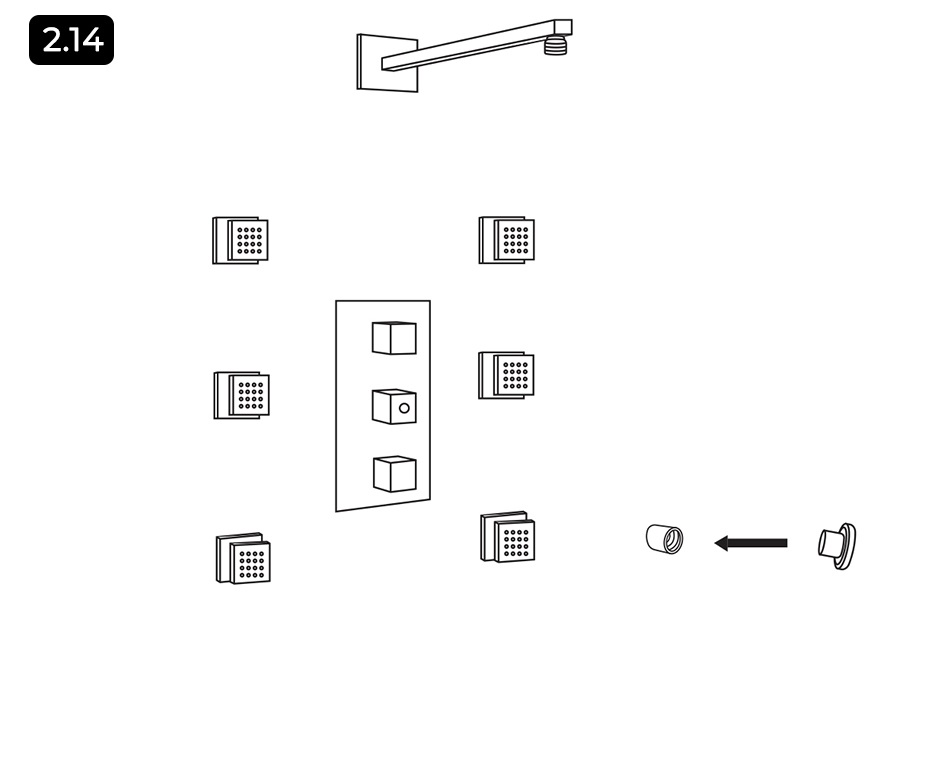
Thread the water supply elbow onto the installed brass nipple until hand tight. Apply plumber’s tape or thread sealant to the threads before attaching. 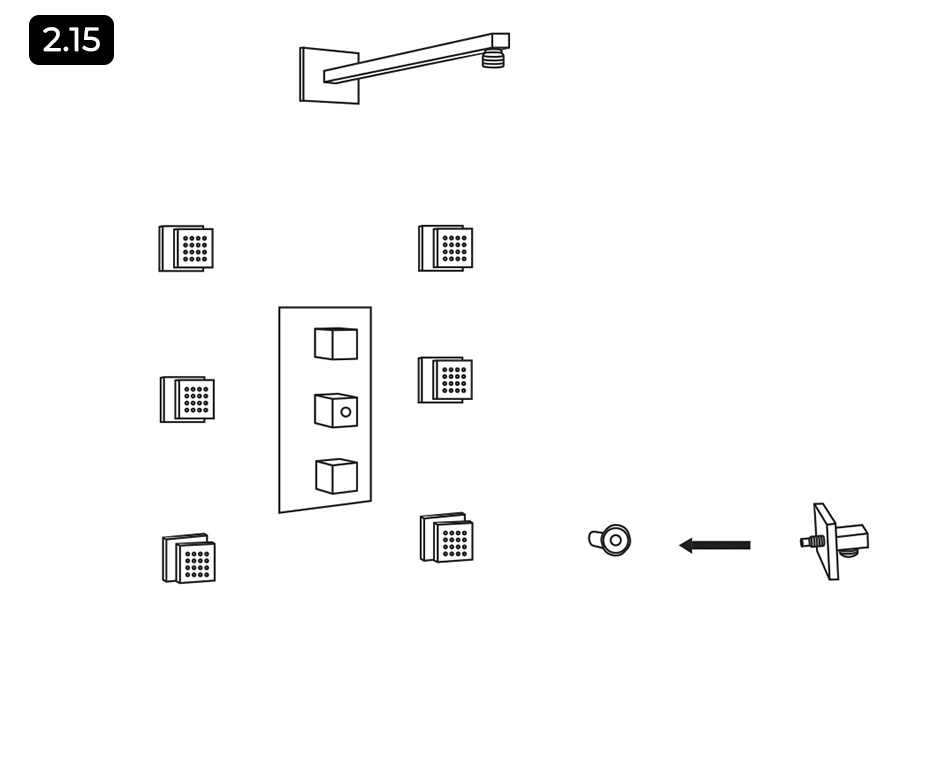
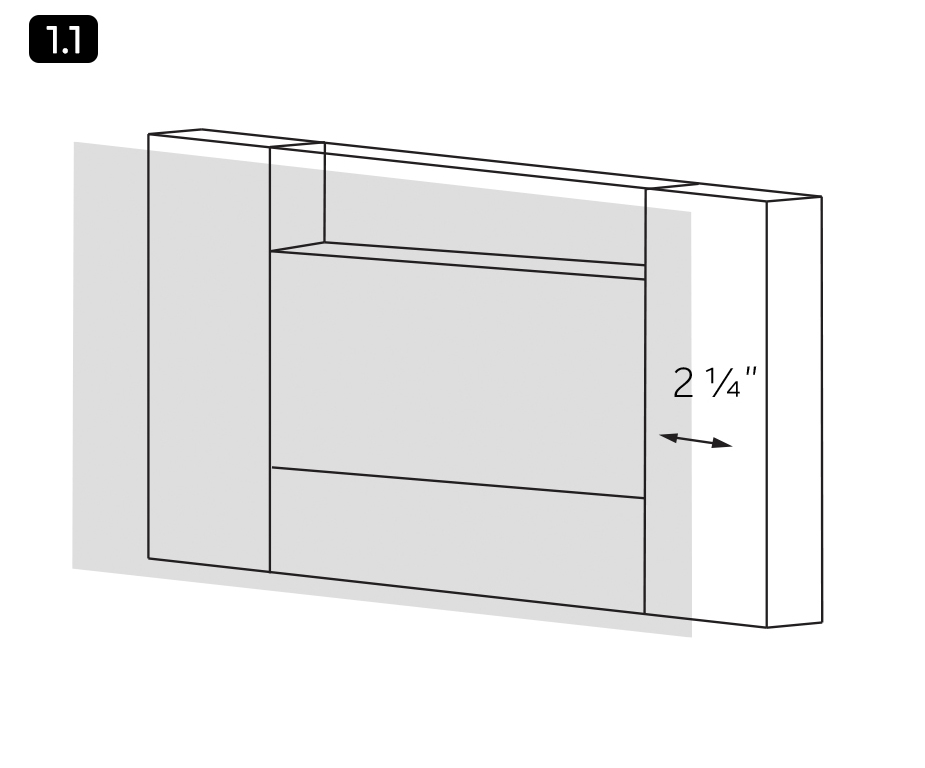
Install the slide bar’s upper mounting bracket. The bracket will need to be installed 21 1/2″ above the water supply elbow, from center-to-center. Use the provided anchors and screws to secure the bracket to the wall. 
Tip: If drilling through tile, you must use a masonry drill bit and drill very carefully to avoid cracking the tile.
Attach the slide bar by hanging it onto the installed mounting bracket and water supply elbow. Secure the slide bar by tightening the set screws located on the bottom of the bracket and elbow.
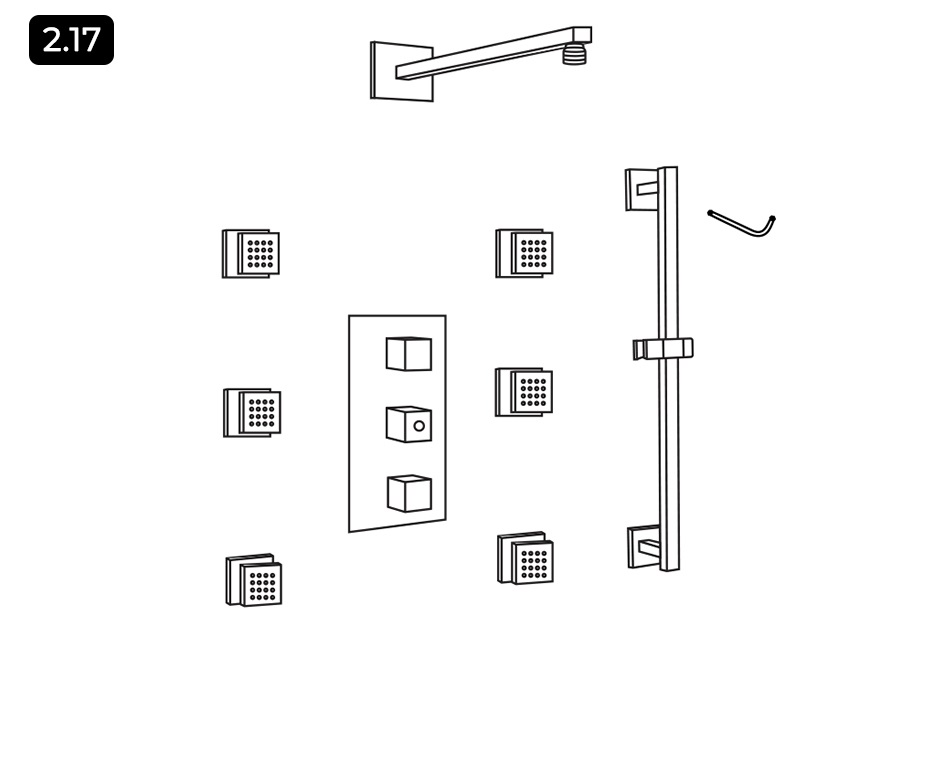
Attach the hand shower to the water supply elbow using the hand shower hose. Apply thread sealant or plumber’s tape to the threads before tightening. Hand tighten the connections firmly. 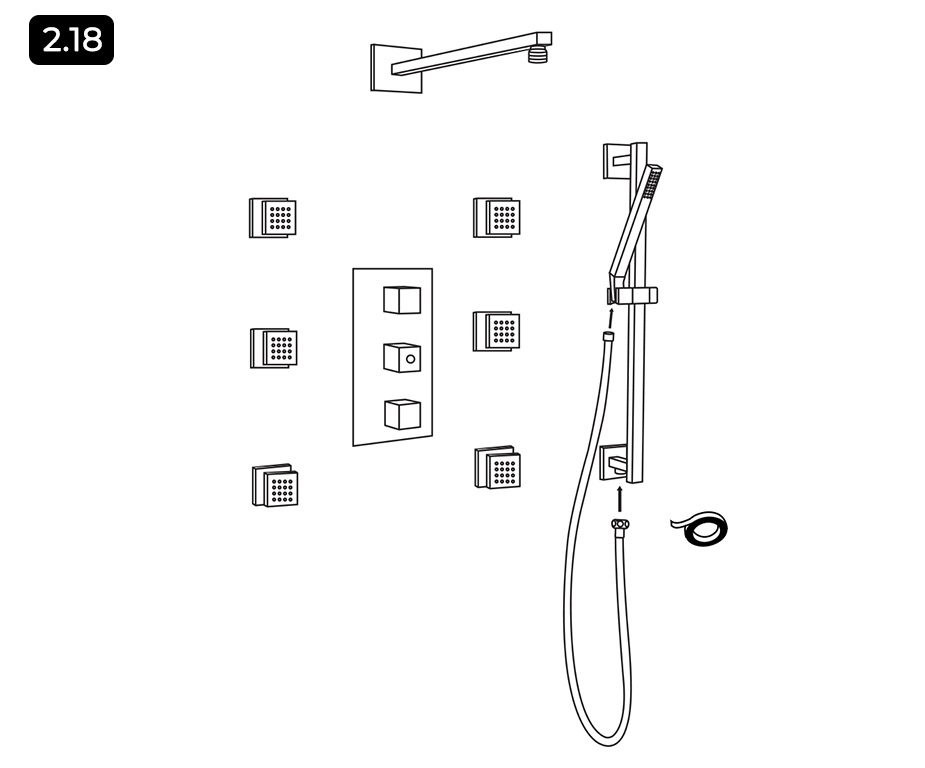
Complete the installation by attaching the showerhead to the installed shower arm. Apply thread sealant or plumber’s tape to the threads before tightening. 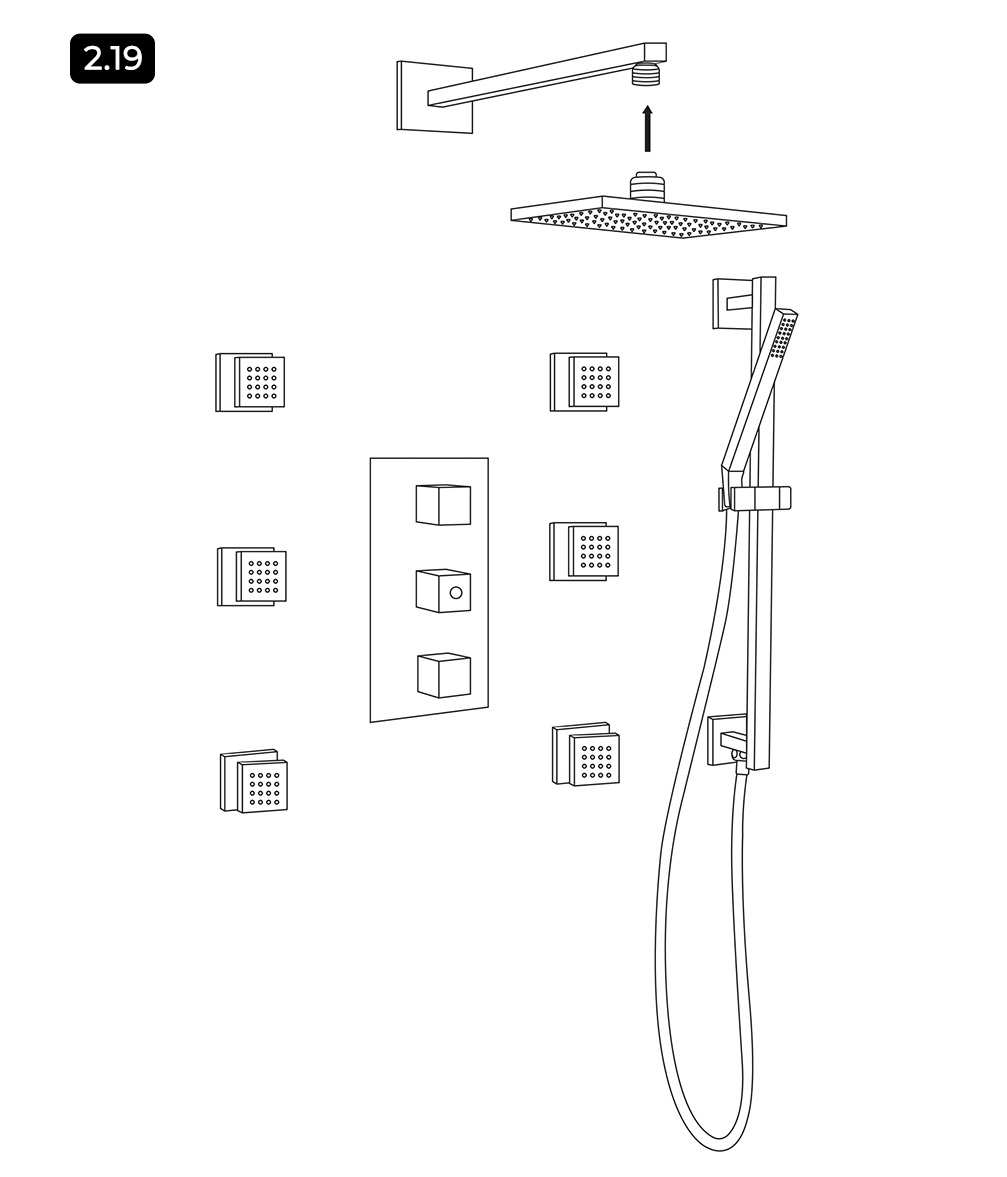
Turn the main water supply back on, and test the completed shower system. Ensure that there are no leaks and that all functions are working properly. 