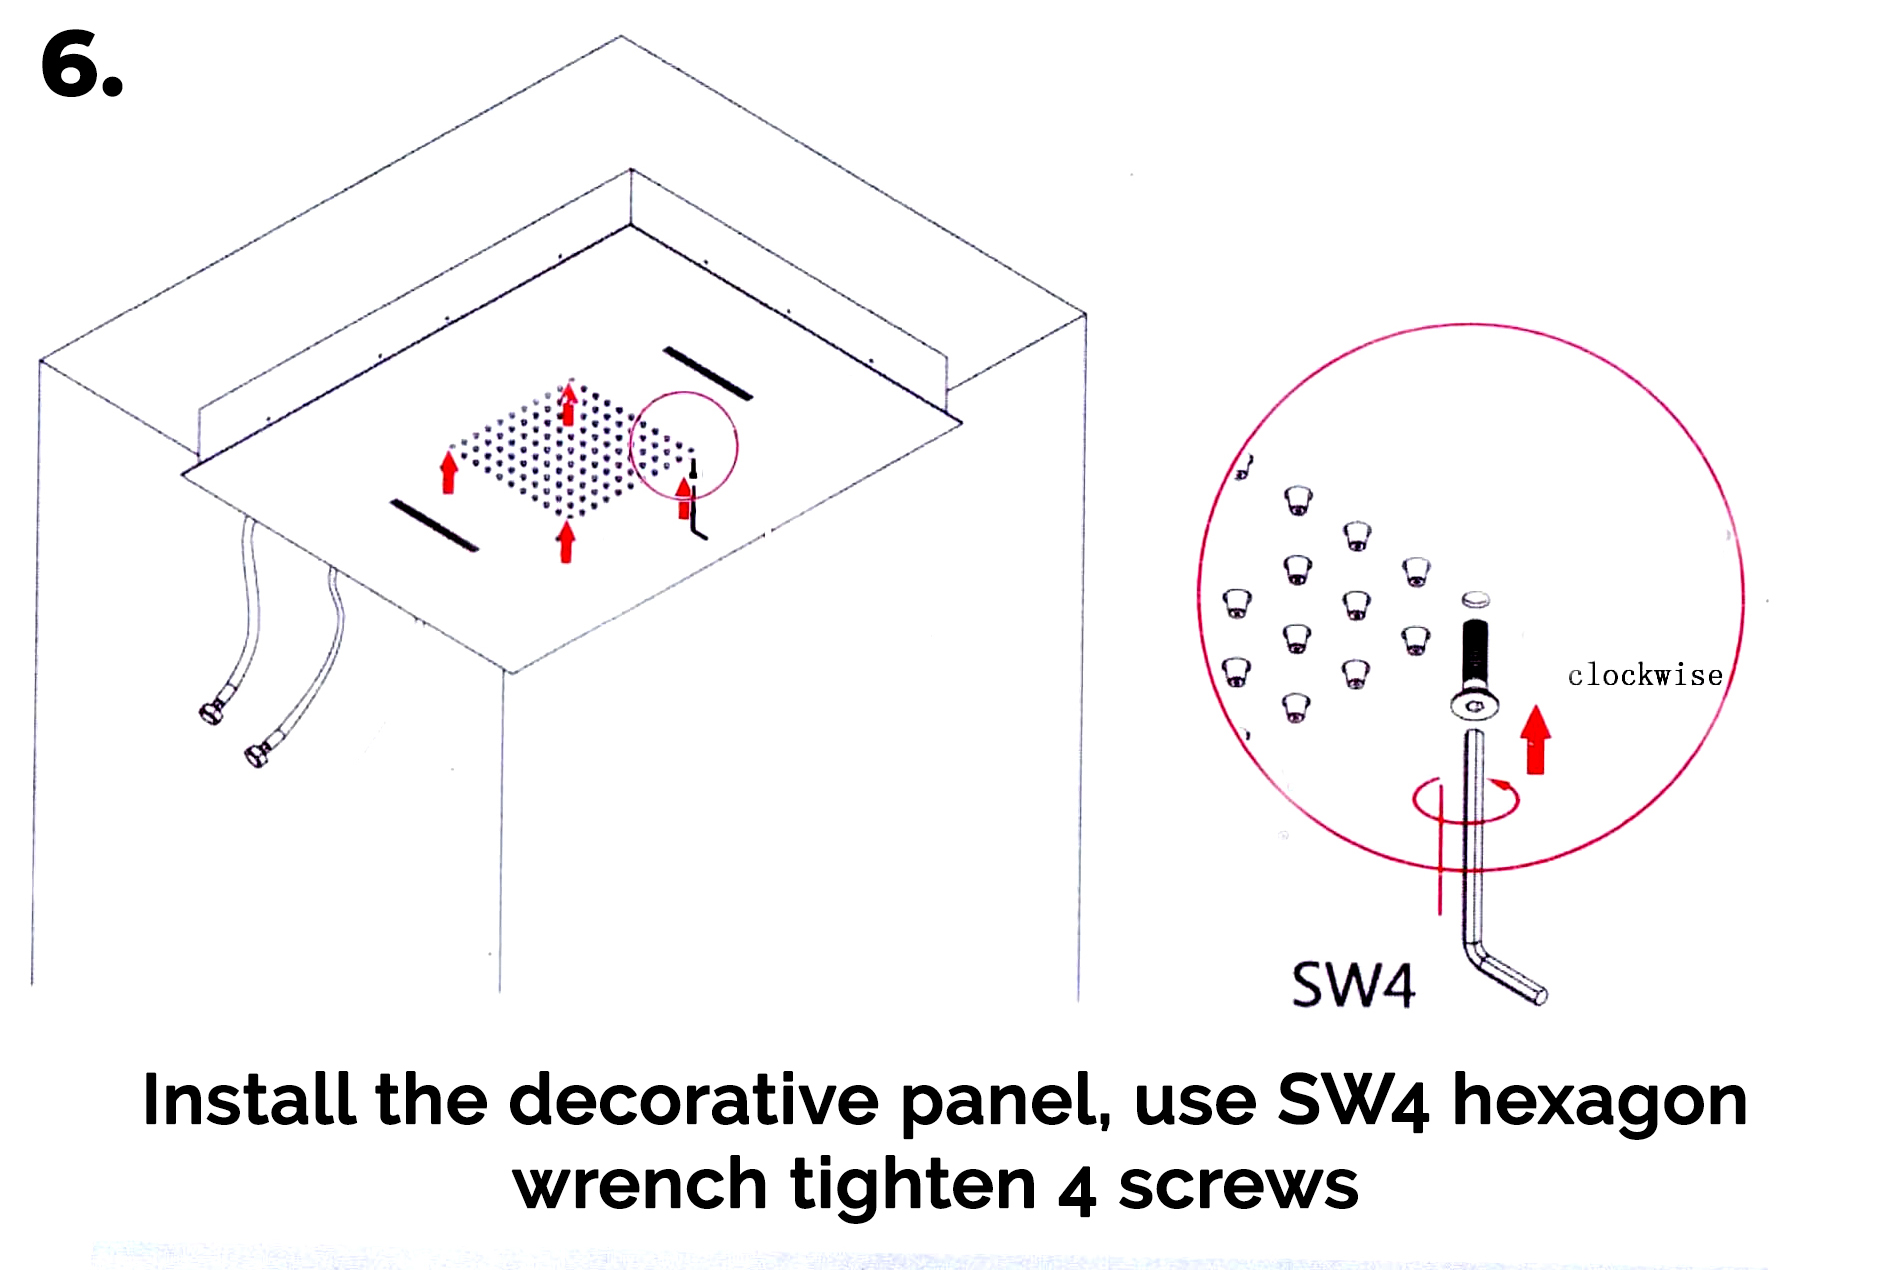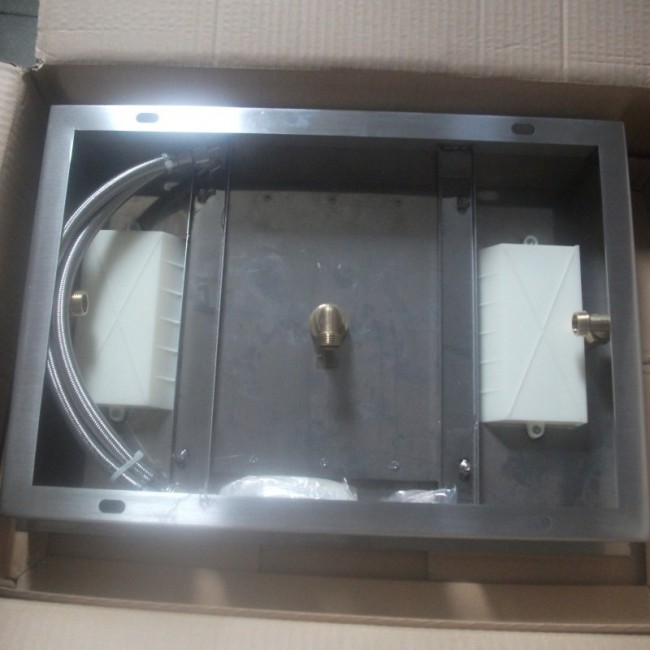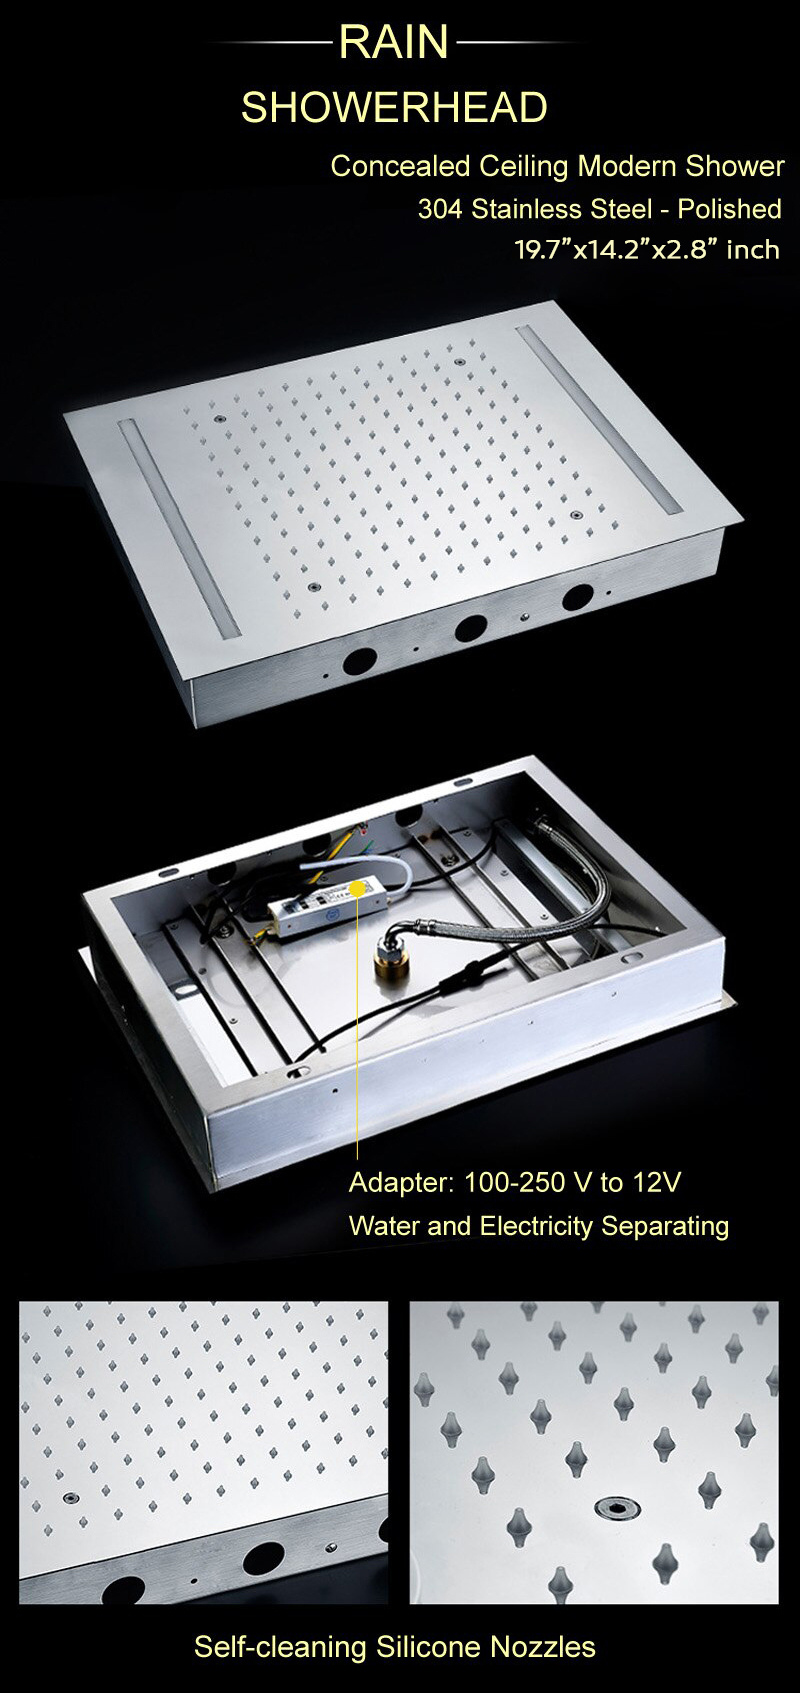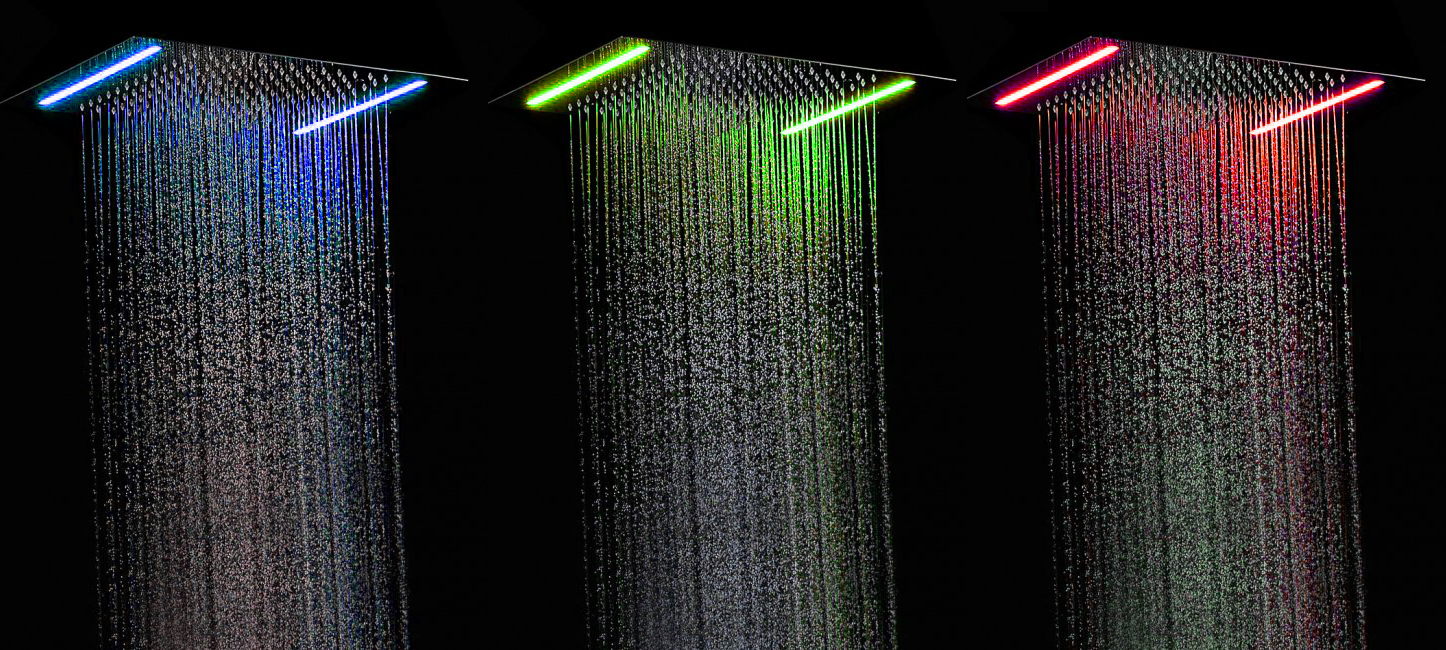
INSTALLATION INSTRUCTIONS
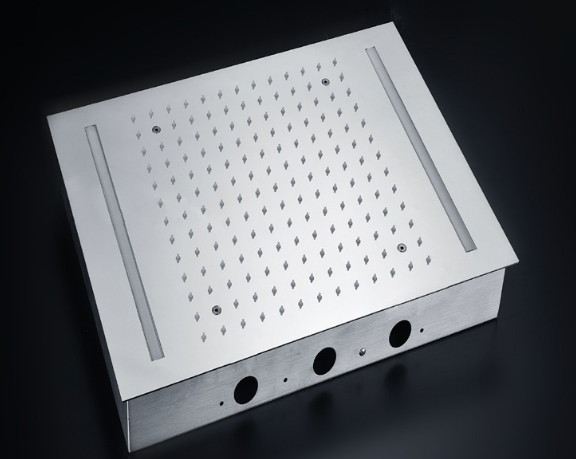
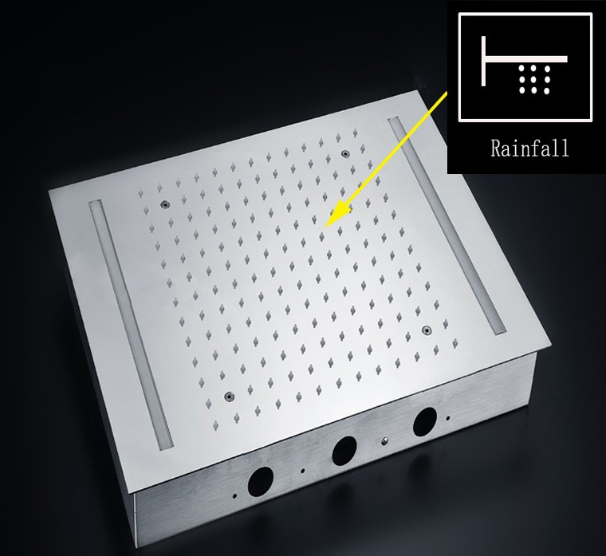
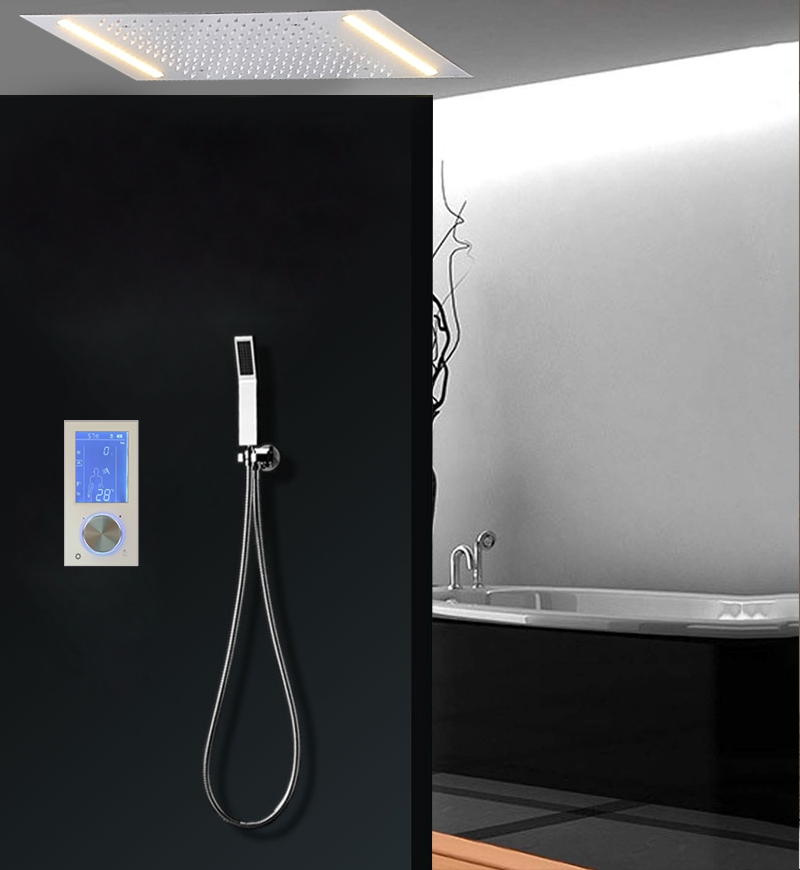
The ultimate showering luxury with the Fontana Emilia Chrome Posh LED Digital Control Thermostatic Rainfall Bathroom Shower Set. This exquisite shower set combines sleek design, advanced technology, and superior functionality to create a truly indulgent showering experience. The LED digital control panel allows you to easily adjust the water temperature and flow, ensuring precise control and maximum comfort. The thermostatic valve ensures a consistent water temperature, eliminating sudden fluctuations for a safe and enjoyable shower. The rainfall showerhead delivers a soothing cascade of water, enveloping you in a refreshing downpour. With its chrome finish, the shower set adds a touch of elegance and sophistication to your bathroom decor. Upgrade your showering experience and transform your bathroom into a luxurious spa-like retreat with the Fontana Emilia Chrome Posh LED Digital Control Thermostatic Rainfall Bathroom Shower Set.
Before you begin, read the installation instructions below. Observe all local building and safety codes.
Unpack and inspect for any shipping damages. If you find any damages, do not install it. Contact Customer Service. If you need assistance while installing your shower system, call our Customer Service number.
We recommend consulting a professional if you are unfamiliar with installing bathroom fixtures and plumbing.
TOOLS AND MATERIALS:
- Screwdriver
- Teflon Tape
- Adjustable Wrench
- Smooth Joint Pliers
- Soft Cloth
- Silicone Sealant
INSTALLATION
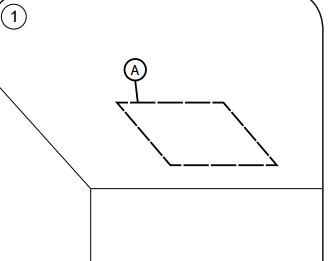
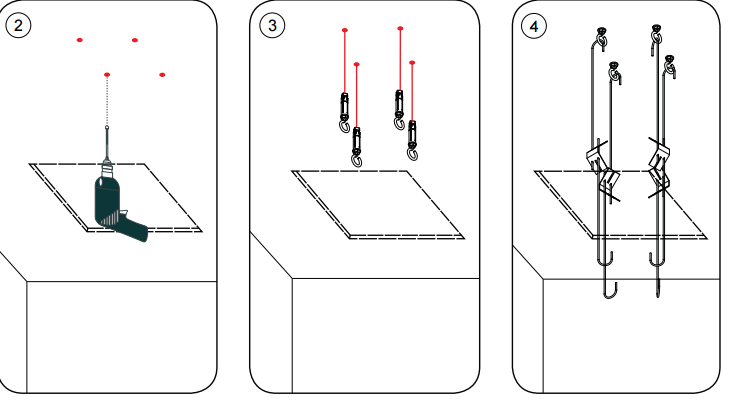
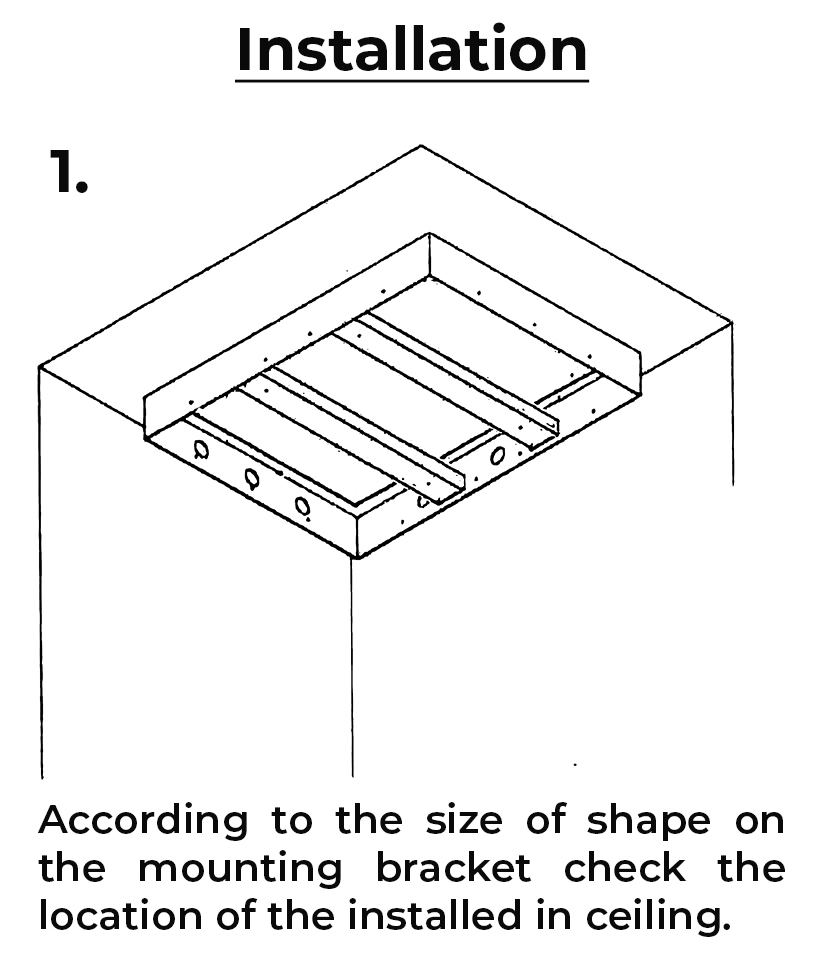
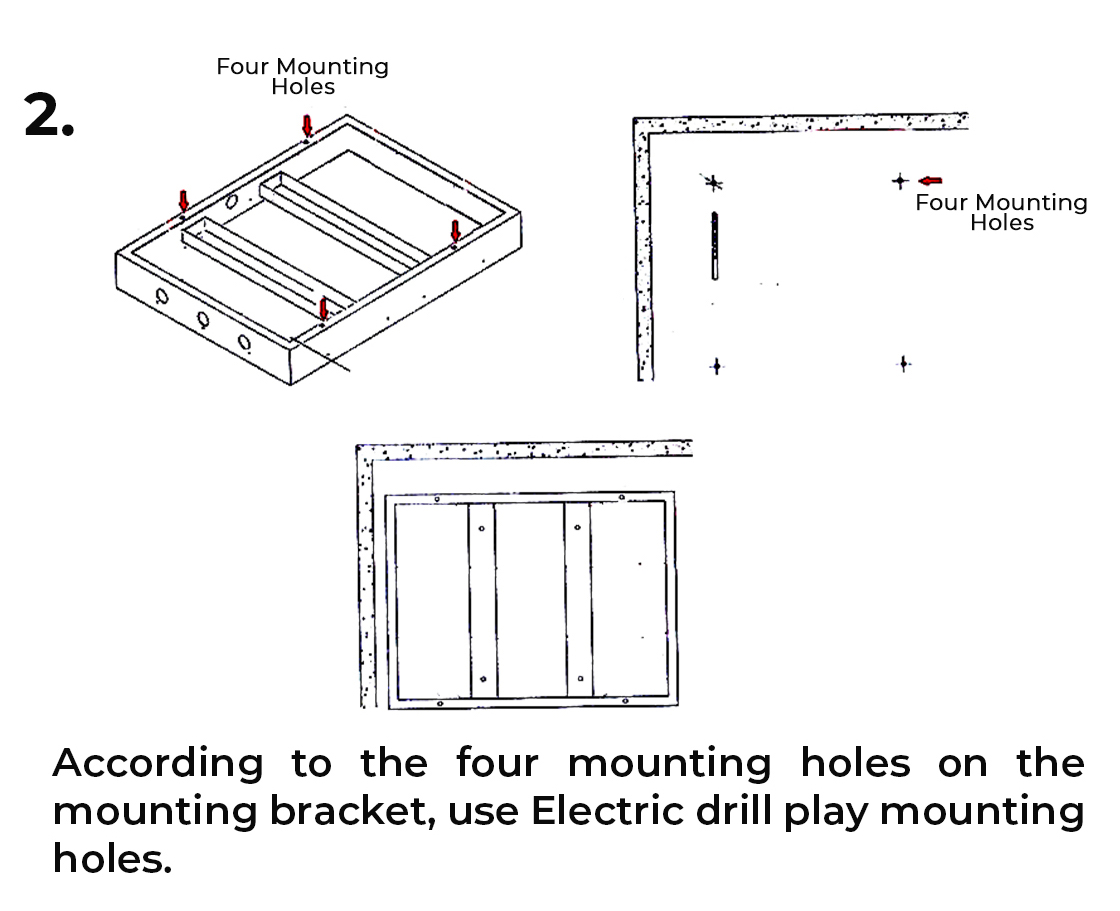
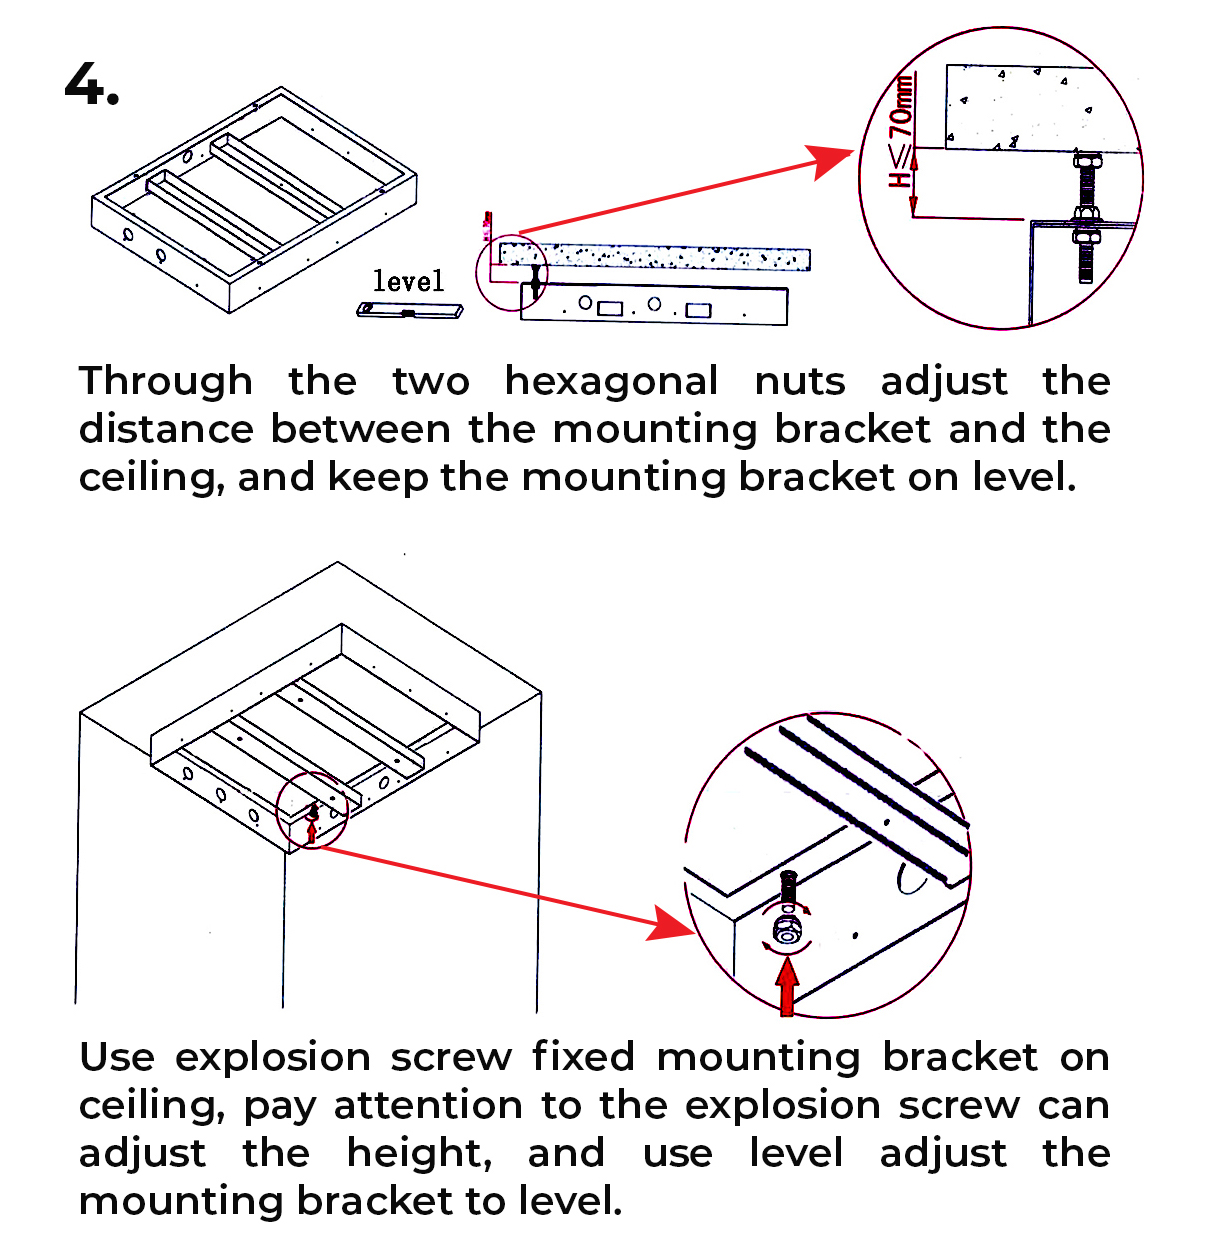
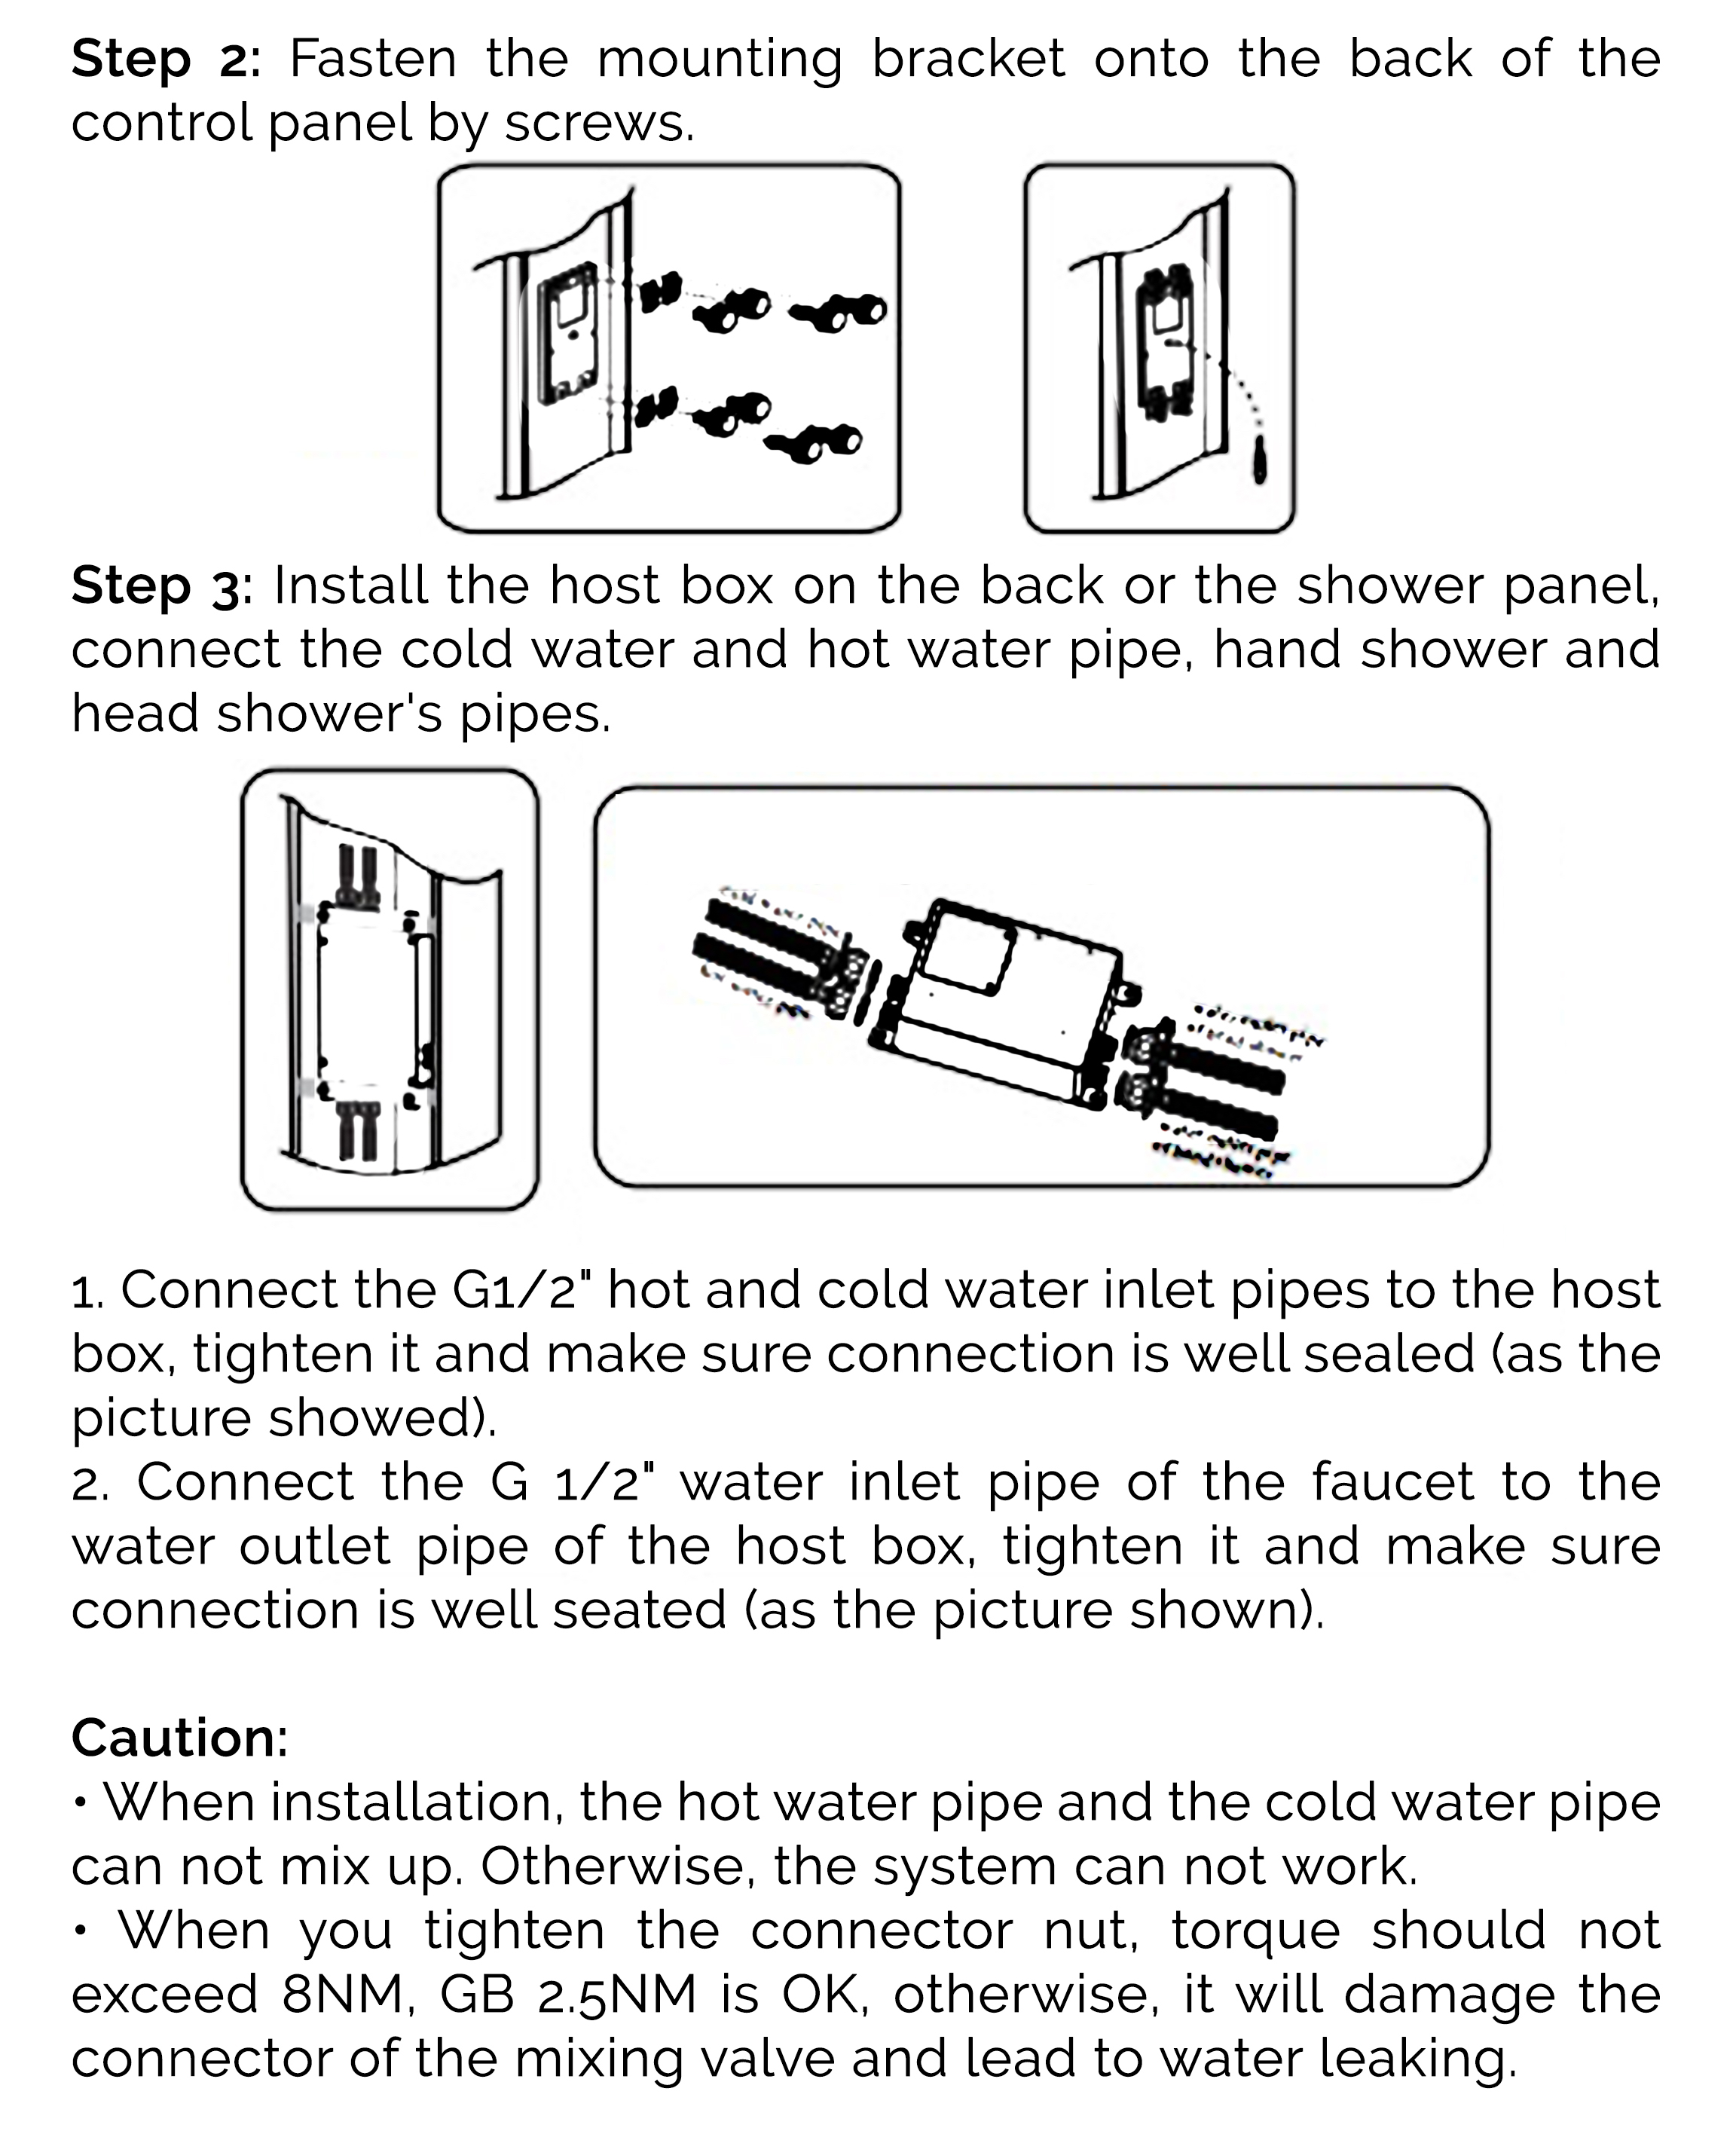
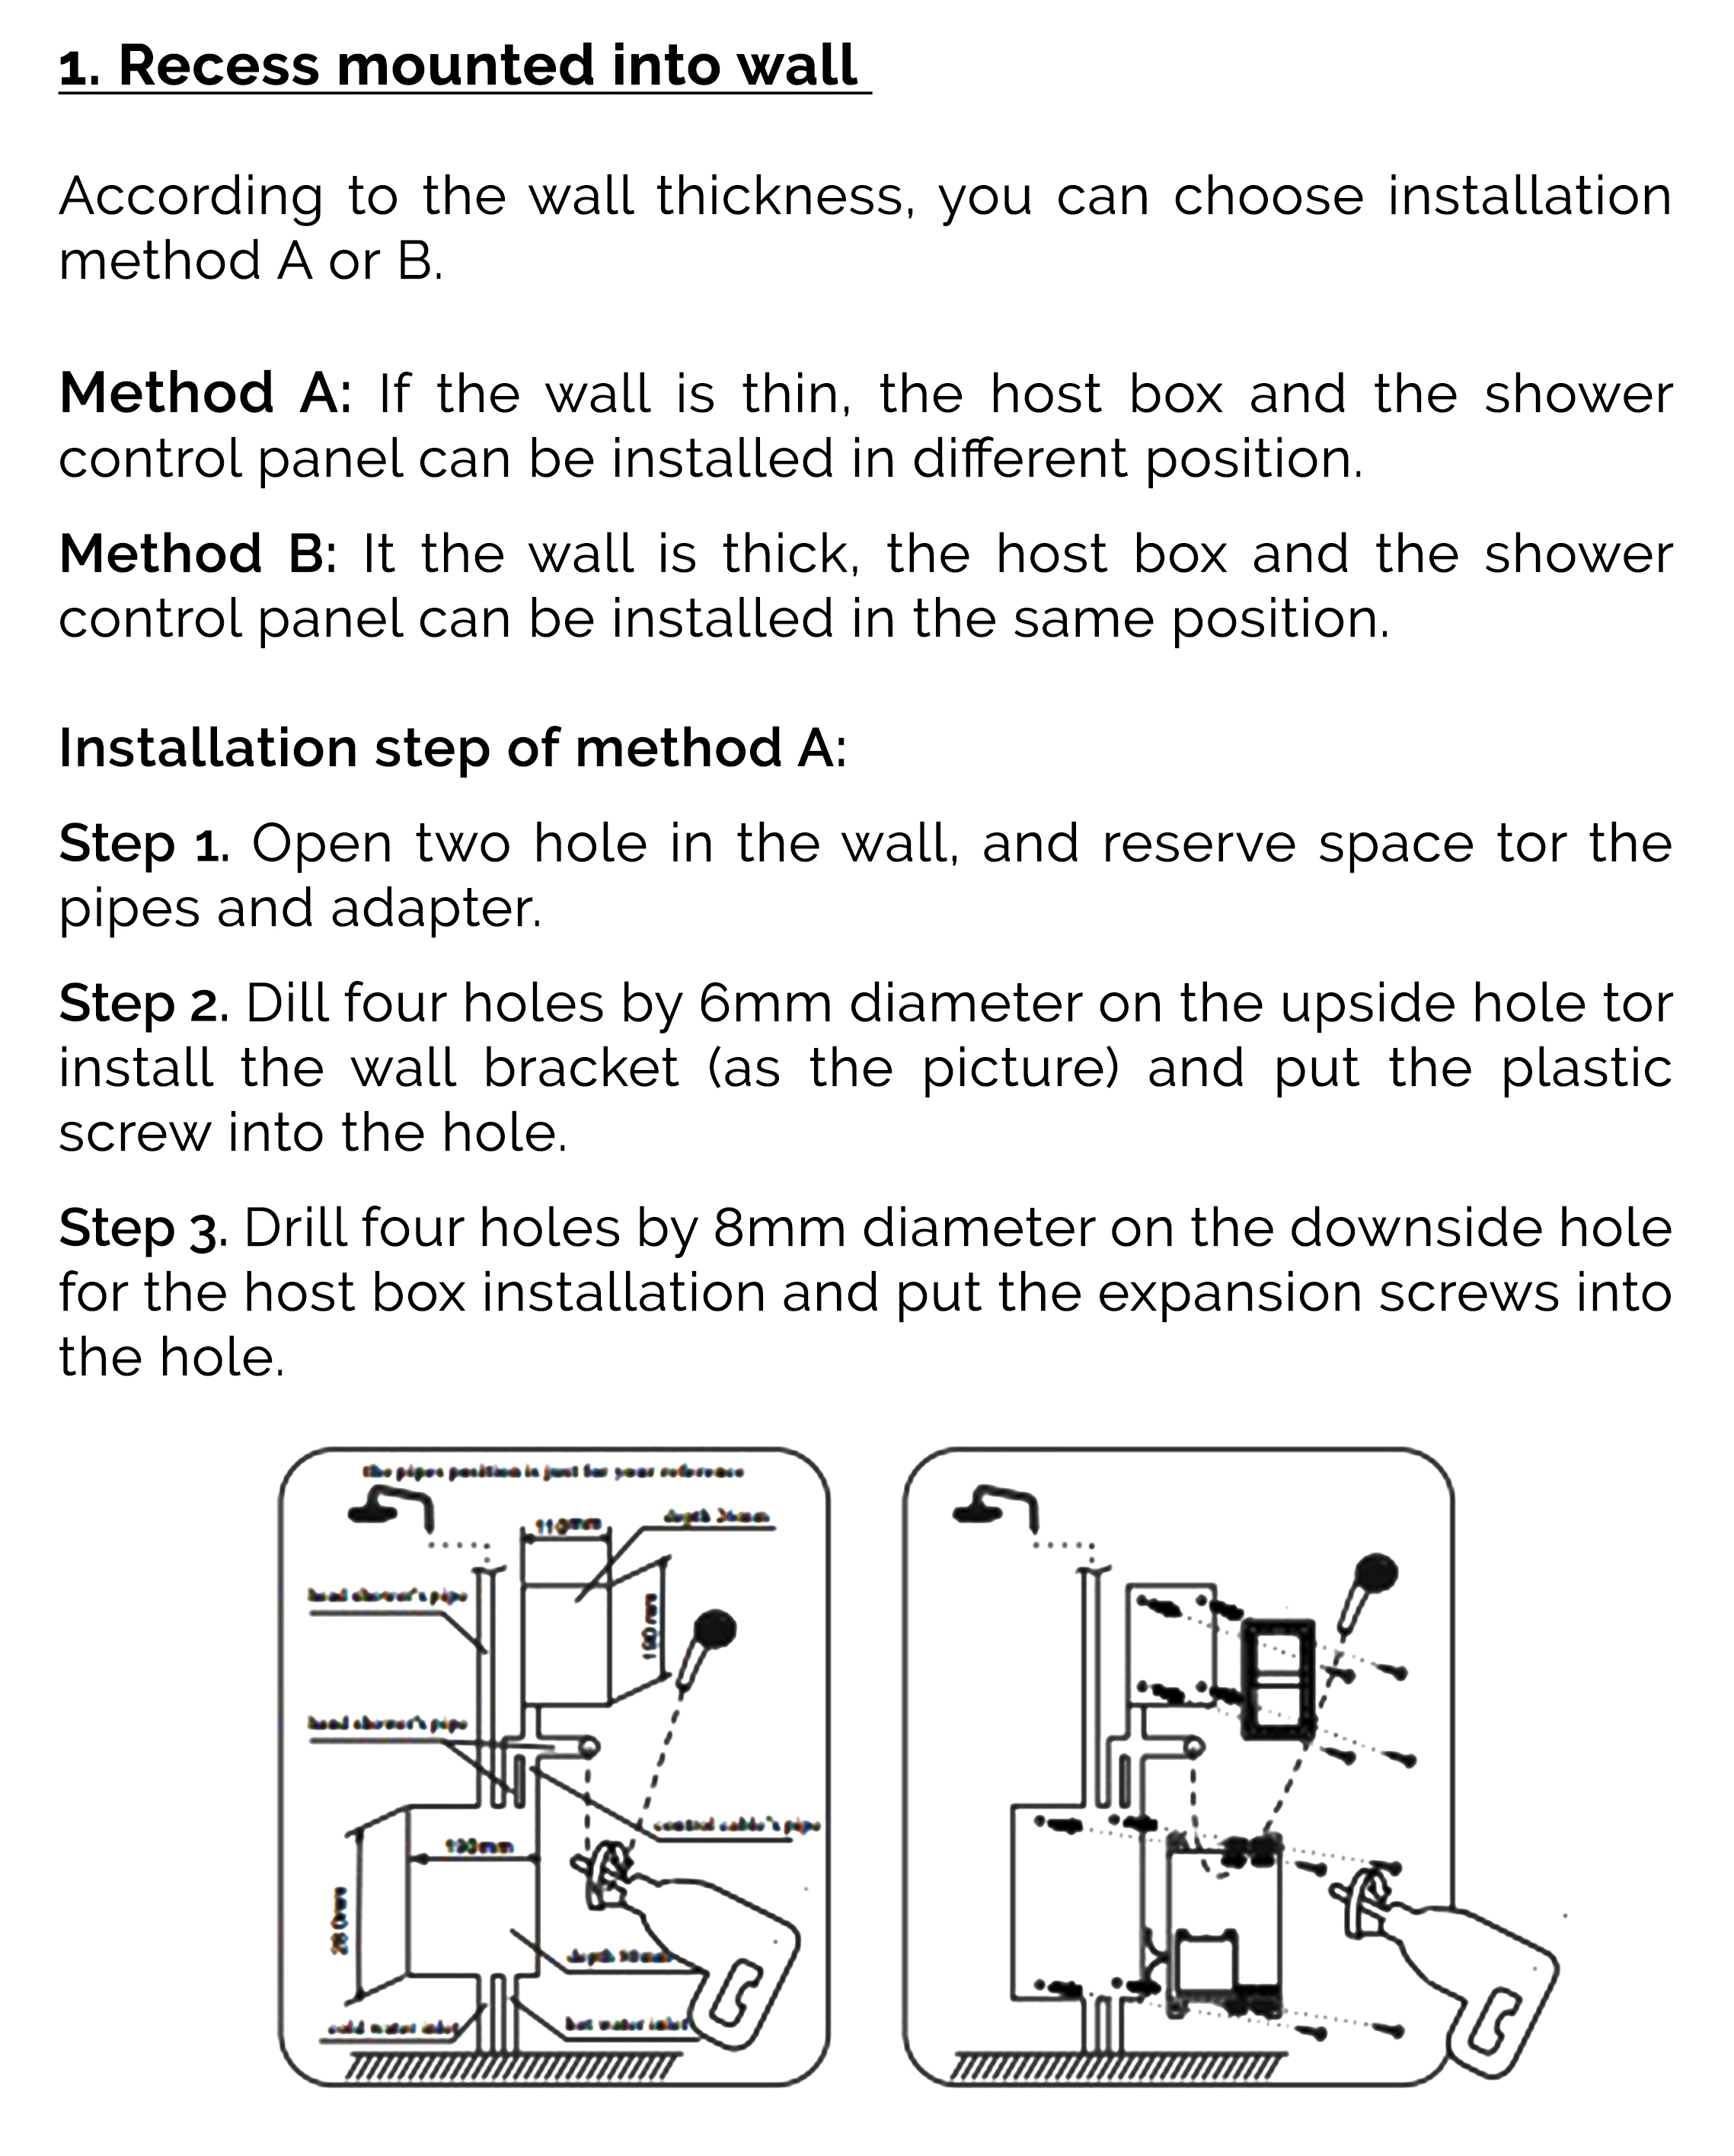
1. Attach the upper wall support to the shower wall using a drill and the mounting hardware provided. Use a level to ensure that the shower riser is perfectly straight.
2. Place thread sealant on the ½” pipe threads in the shower wall and thread on the mounting nuts. Allow the sealant to cure for 24 hours before use.
3. Attach the hot and cold valve bodies and decorative escutcheons (if included) directly to the pipe threads. Tighten with an adjustable wrench to secure.
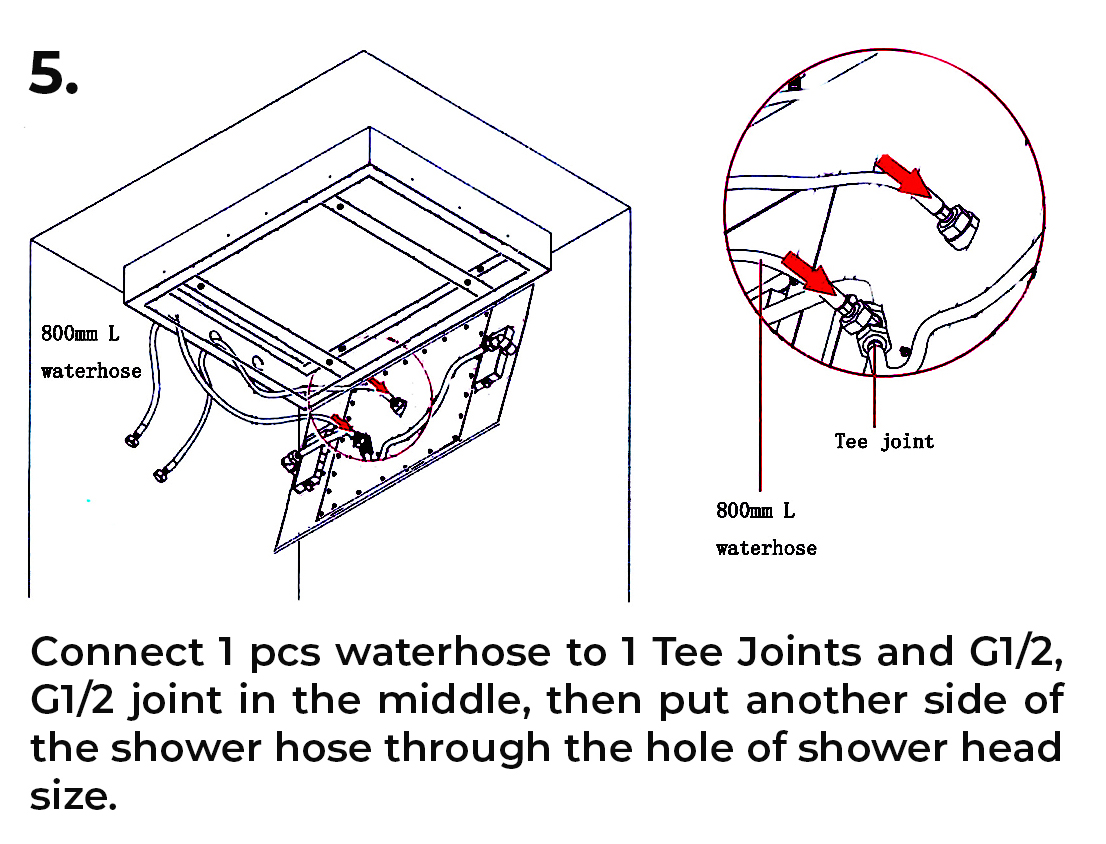
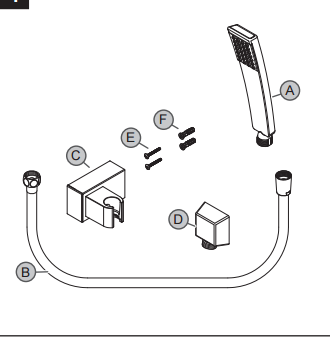
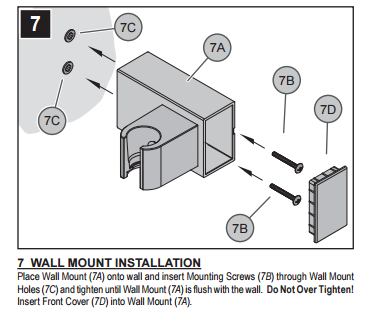
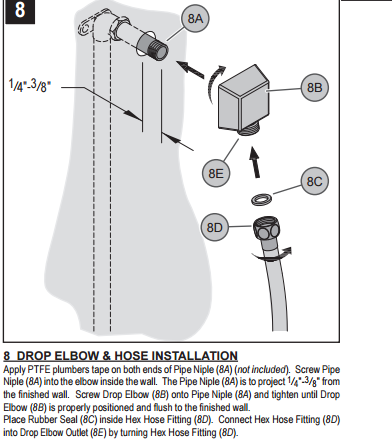
4. To install a hand-held shower, mount the cradle at a suitable height for the user with the hardware provided. Attach the hose to the faucet with any rubber washers or sealing gaskets included. If your system does not feature a hand-held shower move on to the next step.
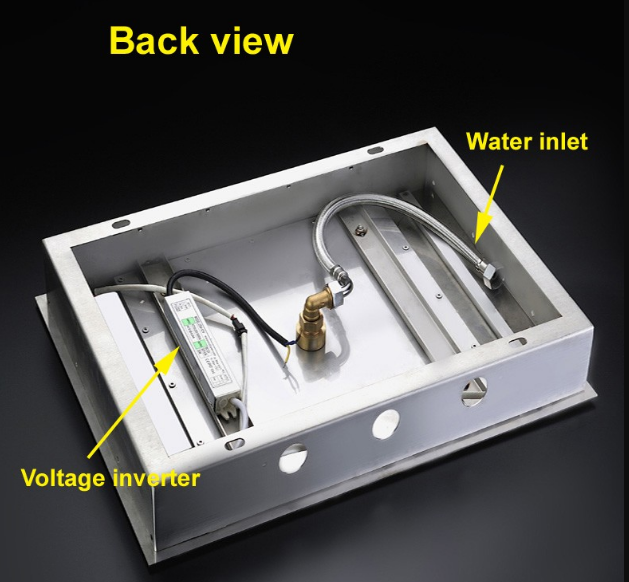
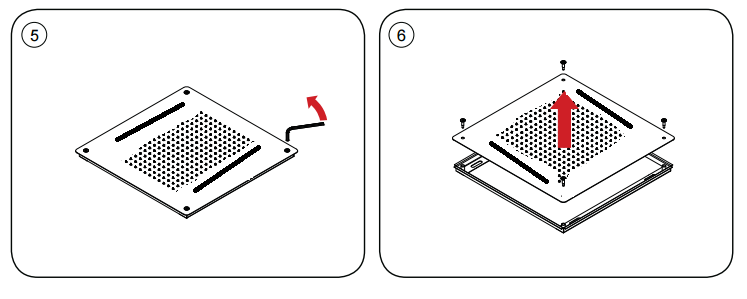
5. Attach the shower head to the top of the riser and tighten with a smooth jaw wrench. Do not tighten more than ¼ turn beyond hand tight.
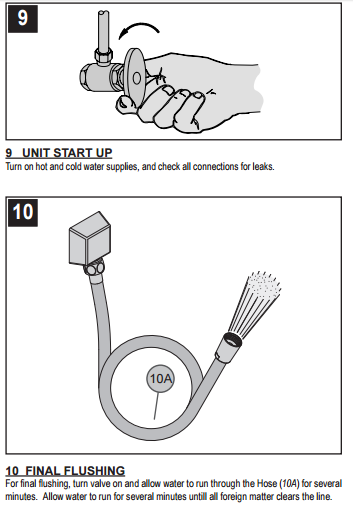
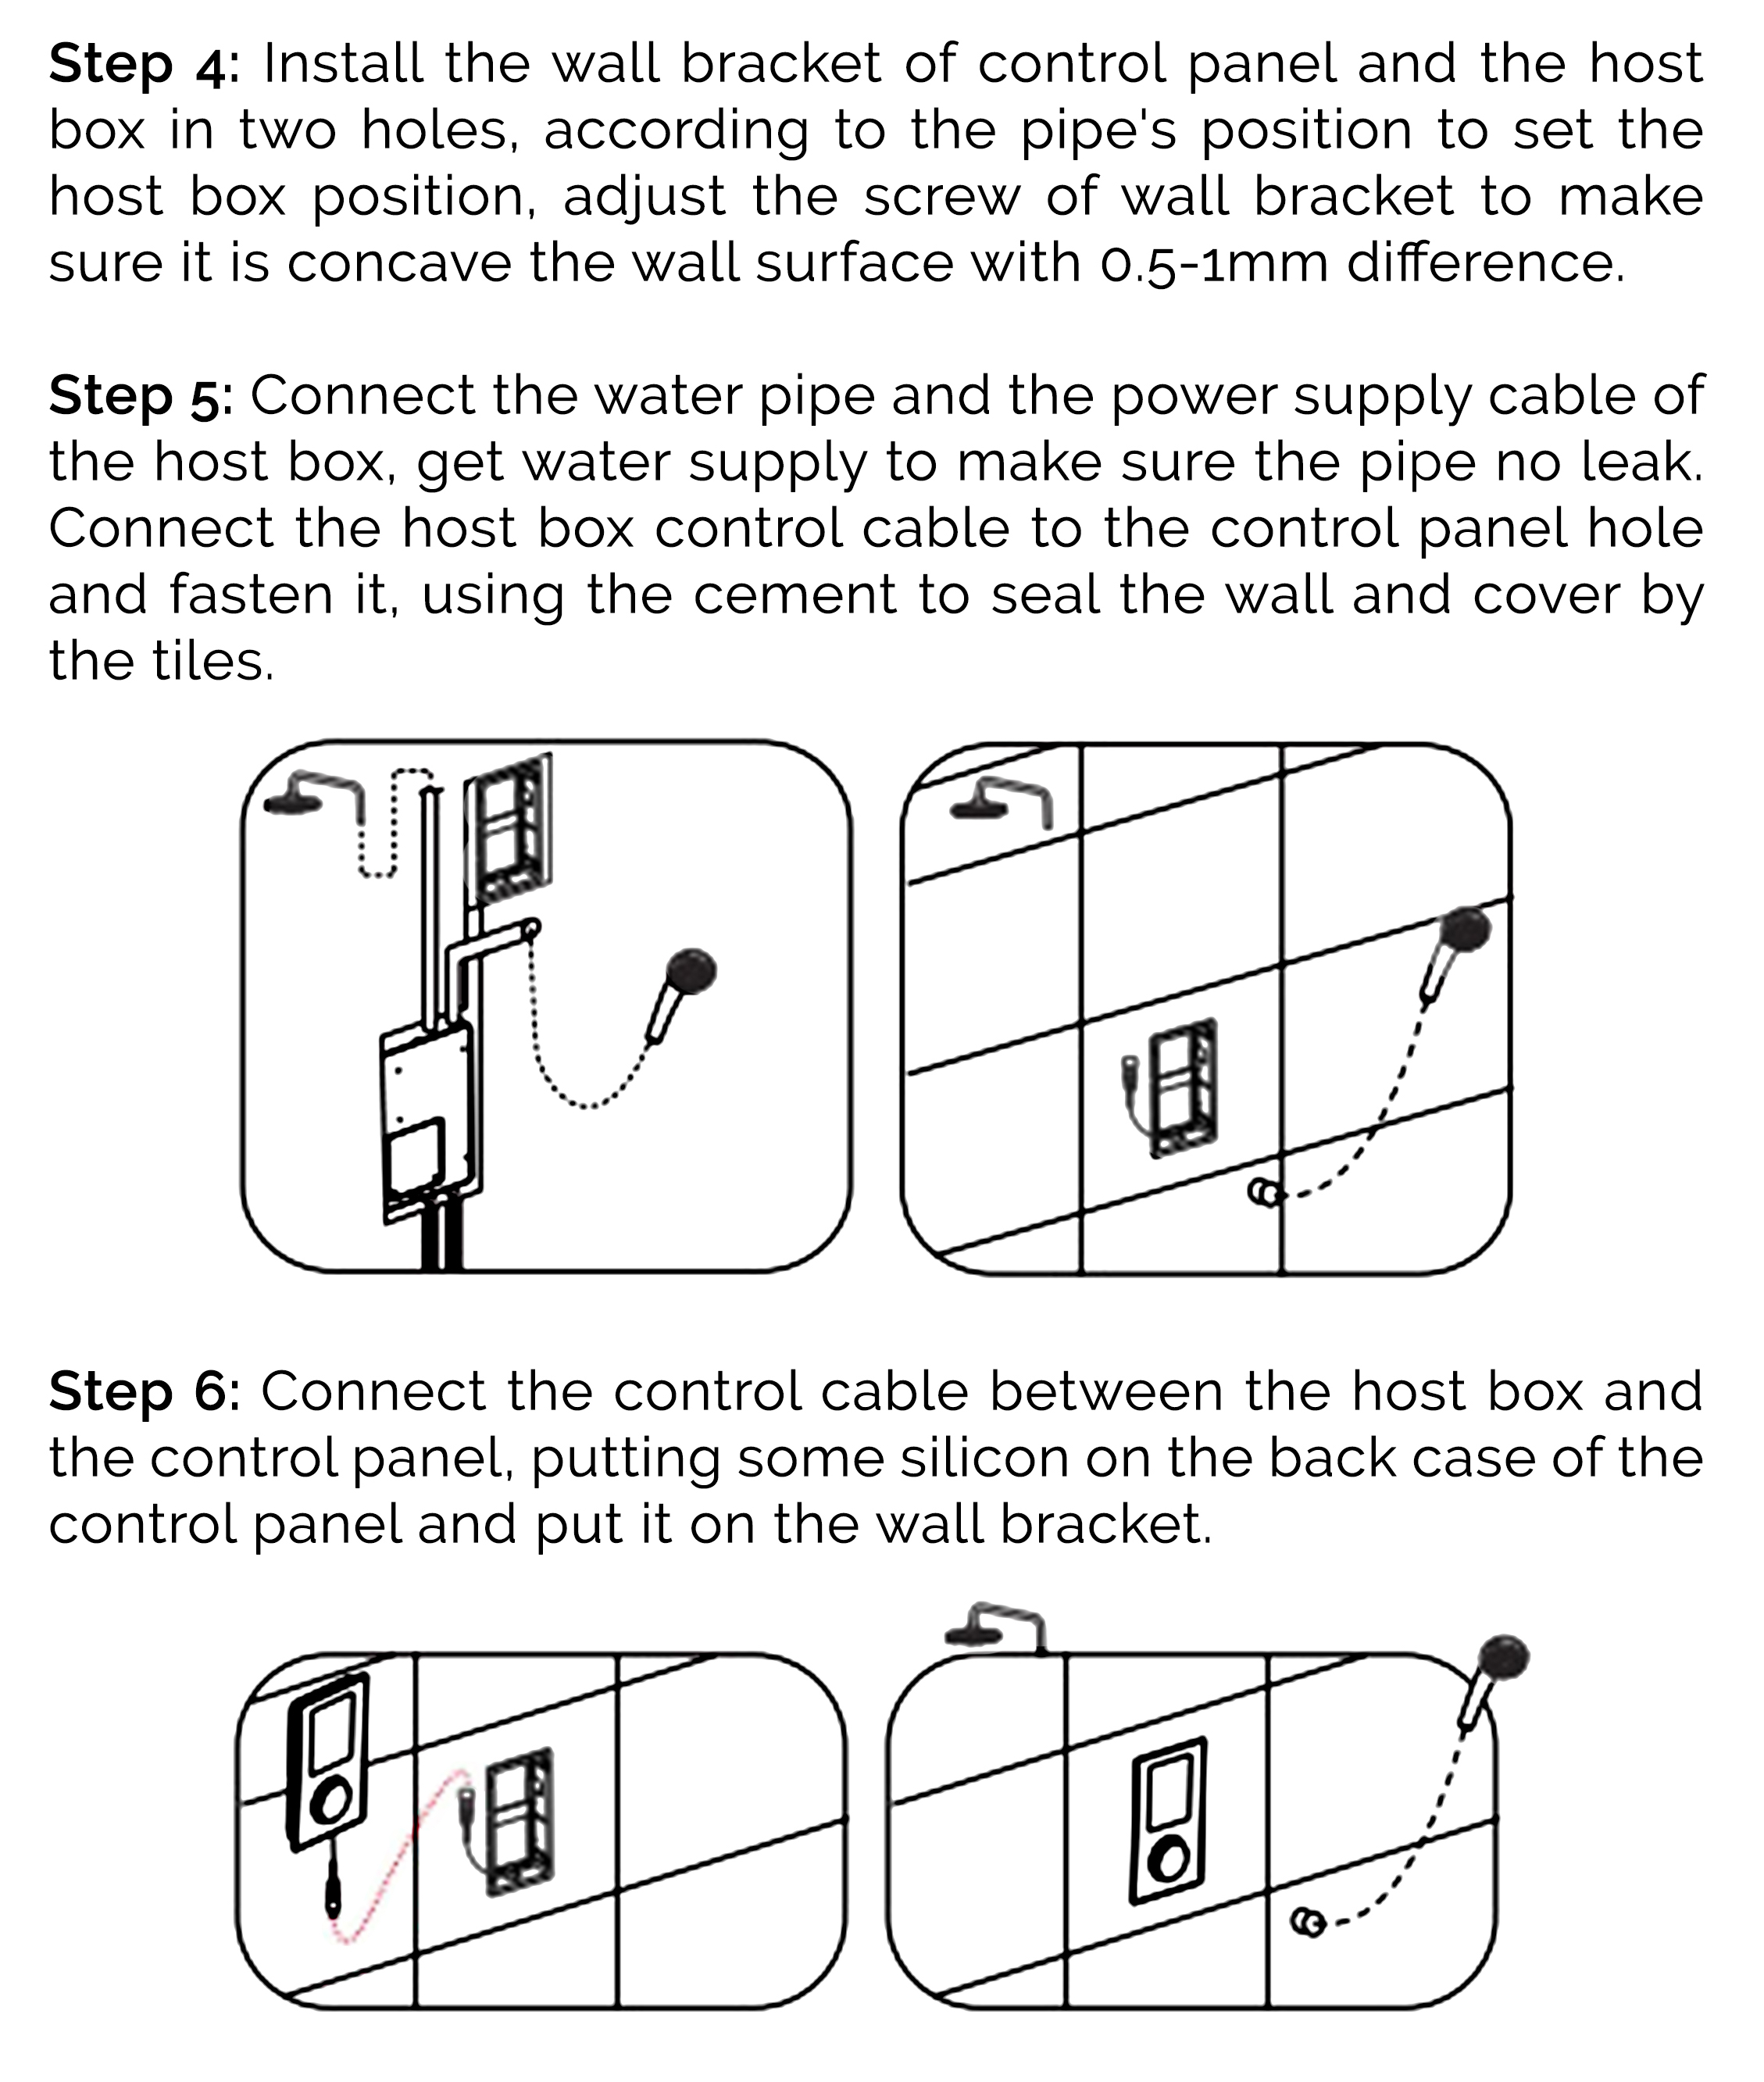
6. Turn on the water supply and open the faucet valves. Check for any leaks and verify that the hot and cold supplies are working correctly. Let the water flow through the riser pipe and shower hose for approximately 30 seconds to clear out debris and dirt.
Note: If leakage occurs, tighten connections with your adjustable wrench as necessary. If problems persist, contact Customer Service
