
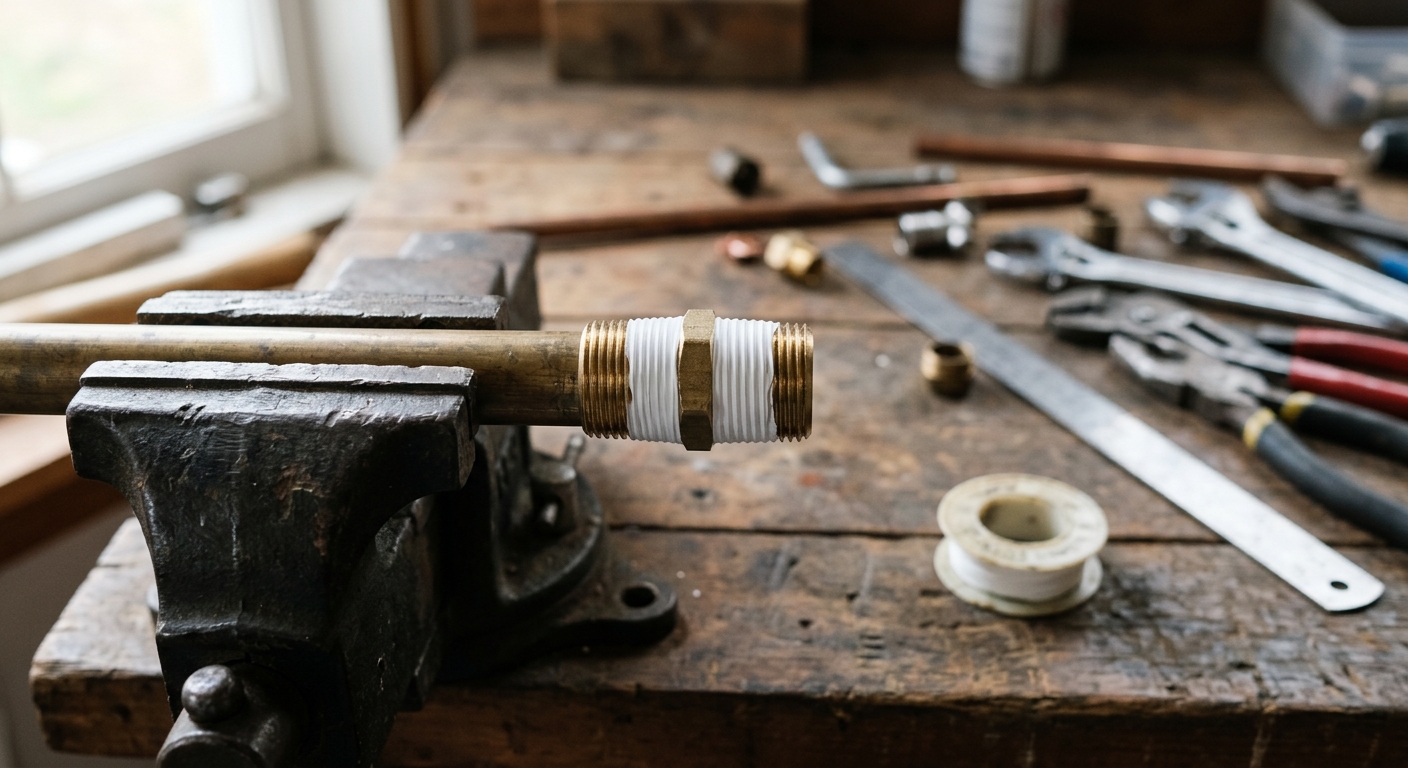
Wrap PTFE tape clockwise around the threads when you’re looking at the fitting end-on, in the direction the fitting will turn when you tighten it. This keeps the tape from bunching or unwinding as you thread the connection together. Use 2-3 wraps for standard 1/2 inch NPT fittings and 3-4 for anything larger than 3/4 inch, and skip the tape entirely on compression, flare, or push-fit joints.
Tools and Materials Checklist
Before you touch the tape, confirm you have what the job actually needs. Half the leaks that show up after a “simple” tape job trace back to missing one of these.
- PTFE tape rated for the application (standard white tape for water lines, yellow-coded tape for gas lines where local code requires it)
- Clean rag or paper towel to wipe old sealant and debris off the threads
- Adjustable wrench or channel-lock pliers sized to the fitting
- Thread inspection light or headlamp if you’re working under a sink or behind a tub
- A spare washer if you’re working on a BSPP fitting (more on that below)
Time estimate: 5-10 minutes per fitting once the old connection is broken and the threads are clean. Add time if you’re chasing a leak that’s already soaked the area, since you’ll need to dry everything before the new tape will seat properly.
Wrap Direction: The Clockwise Rule
Hold the fitting so the threaded end points at you. Start the tape just behind the first thread, not on the very tip, and wrap clockwise, which is the same direction you’ll turn the fitting to tighten it into the receiving port. Wrapping clockwise means each turn of the wrench presses the tape tighter into the threads instead of peeling it loose.
If you wrap counterclockwise, the first few turns of tightening will unwind the tape before it ever gets compressed into the thread gaps. This is the single most common reason a “properly taped” joint still leaks on the first test. Rethread it in the correct direction rather than trying to add tape on top of the failed wrap.
Turns by Pipe Size and Thread Type
Thread type changes how the tape does its job, not just how much you use. NPT (National Pipe Thread) is tapered, meaning the fitting gets tighter as it seats deeper into the port, and the tape fills the microscopic gaps between the tapered male and female threads to make the seal. BSPP (British Standard Pipe Parallel) threads are straight-sided and don’t get tighter with depth, so the seal comes from a washer or bonded seal compressed against a flat face, not from the threads themselves.
Wrapping tape on a BSPP fitting the way you’d wrap NPT won’t fix a leak. It might even make it worse by preventing the washer face from seating flat. If you’re not sure which thread type you’re dealing with, look at the fitting: if it’s straight down its length and there’s a flat mating face with a washer groove, it’s BSPP. If it visibly narrows toward the tip, it’s tapered NPT.
| Thread Type | Pipe Size | Wraps | Sealing Method |
|---|---|---|---|
| NPT (tapered) | 1/4 to 1/2 in | 2-3 | Tape fills thread gap as fitting tightens |
| NPT (tapered) | 3/4 in and larger | 3-4 | Tape fills thread gap as fitting tightens |
| BSPP (parallel) | Any | 0 (tape not the primary seal) | Washer or bonded seal against flat face |
| BSPT (tapered, metric) | Any | 2-3 | Same principle as NPT |
More wraps isn’t automatically better. Overwrapping can build up enough bulk that the fitting won’t seat fully, which leaves you with a joint that looks tight but is actually sitting on a cushion of tape instead of metal-to-metal thread contact.
Fittings Where PTFE Tape Fails
Tape only works on threaded connections that rely on thread compression for the seal. It has no business on the following:
- Compression fittings – these seal with a ferrule biting into the pipe wall, sitting outside the threads entirely. Tape on the threads does nothing for the seal and can make the nut hard to torque correctly.
- Flare fittings – the cone-shaped flare seats metal-to-metal against a matching seat. Tape between the flare faces will prevent that contact and guarantee a leak.
- Push-fit fittings (like SharkBite-style connectors) – these seal with an internal O-ring against a smooth pipe surface. There are no threads involved in the seal path at all.
If you’re installing something like a tub filler with multiple connection types, check each joint individually rather than taping everything by habit. A single fixture can have NPT threads at the supply inlet and a compression or slip-joint connection somewhere else in the same assembly. If you’re shopping for a replacement and want to compare how different styles handle their connections, a bathtub filler range page will usually list the connection type for each model, which tells you upfront whether tape is even part of the job.
Troubleshooting a Leak After Wrapping
If a fitting still leaks after you’ve taped it, work through these checks in order before you assume you need a different fitting entirely.
- Check wrap direction first. Back the fitting off and look at the tape. If it’s shredded or bunched on one side, it likely unwound during tightening because it was wrapped the wrong way.
- Check for cross-threading. If the fitting went in at an angle, no amount of tape fixes that. Back it out, realign it by hand until it threads smoothly for at least two full turns, then tighten with a wrench.
- Check you’re not confusing this with a BSPP joint. If there’s a washer groove and flat face and the leak is coming from that face, the fix is a new washer, not more tape.
- Check for over-tightening damage. Cracked fittings, especially plastic ones, will leak no matter how much tape you add. Look for hairline cracks near the threads.
- Check the number of wraps against the table above. Too few wraps on a larger fitting won’t fill the thread gap; too many can keep the fitting from seating.
If you’ve gone through all five and it’s still leaking, the fitting itself may be worn, out of round, or the wrong thread type for what it’s mating to. At that point, tape isn’t the variable to keep adjusting.
Quick Reference Table
| Situation | Use Tape? | Direction/Amount |
|---|---|---|
| 1/2 in NPT supply line | Yes | Clockwise, 2-3 wraps |
| 3/4 in or larger NPT fitting | Yes | Clockwise, 3-4 wraps |
| BSPP fitting with washer | No | Replace washer instead |
| Compression fitting | No | Ferrule does the sealing |
| Flare fitting | No | Metal-to-metal seat |
| Push-fit connector | No | O-ring seal, no threads involved |
Before you close up the wall or turn the water back on for good, do a slow pressure test: open the supply partway, watch every joint you touched for a few minutes, then bring it to full pressure once you’re confident. If a joint is still weeping after a correct wrap and a proper retightening, don’t add a third layer of tape hoping it’ll seal. Pull the fitting, inspect the threads for damage, and replace the fitting if the threads are chewed up or rounded off. That’s a five-dollar part, not a callback waiting to happen.