Aprilia Chrome Classic Single Handle Bathroom Faucet, All in One Installation Manuals

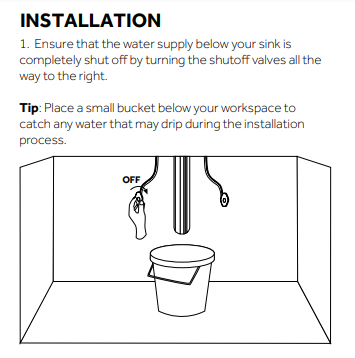
Installation Instructions

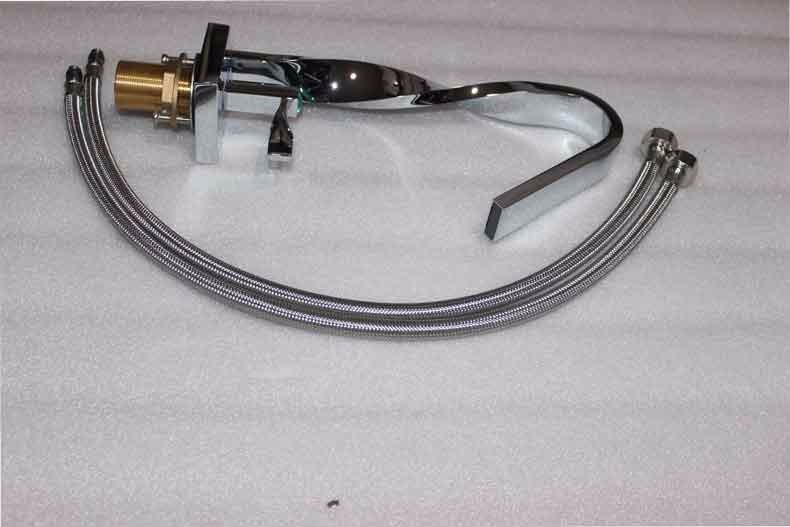
Aprilia Chrome Classic Single Handle Bathroom Faucet, All in One Installation Manuals Aprilia Chrome Classic Single Handle Bathroom Faucet, All in One Installation Manuals Aprilia Chrome Classic Single Handle Bathroom Faucet, All in One Installation Manuals Aprilia Chrome Classic Single Handle Bathroom Faucet, All in One Installation Manuals Aprilia Chrome Classic Single Handle Bathroom Faucet, All in One Installation Manuals Aprilia Chrome Classic Single Handle Bathroom Faucet, All in One Installation Manuals Aprilia Chrome Classic Single Handle Bathroom Faucet, All in One Installation Manuals Aprilia Chrome Classic Single Handle Bathroom Faucet, All in One Installation Manuals2. Attach the provided braided water lines to the faucet until hand tight.

Aprilia Chrome Classic Single Handle Bathroom Faucet, All in One Installation Manuals

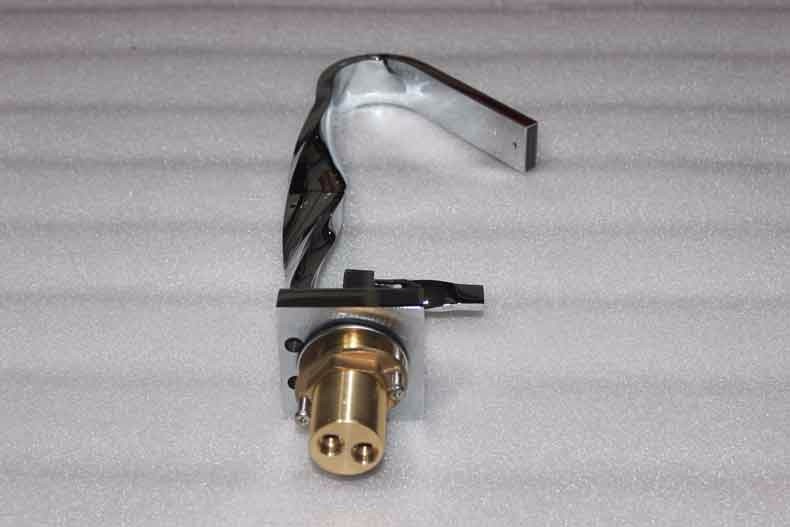
3. Remove the brass lock nuts from the mounting posts, and attach the threaded mounting posts to the faucet body using a Philips screwdriver. Set the brass lock nuts aside for now

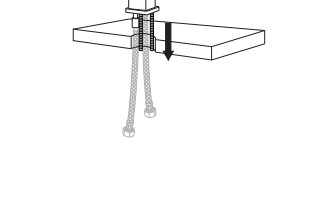
4. Set the faucet into its prepared mounting hole.
Aprilia Chrome Classic Single Handle Bathroom Faucet, All in One Installation Manuals

5. From below, slide the rubber washer onto the mounting posts followed by the metal washer. Hold in place.

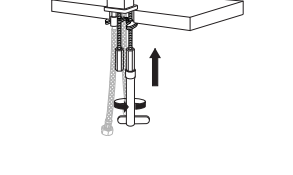
6. Secure the faucet by reattaching the brass lock nuts that were removed in step 3. Hand tighten and adjust the faucet until it is properly aligned. Once aligned, use the provided basin wrench to finish tightening the lock nuts.
Aprilia Chrome Classic Single Handle Bathroom Faucet, All in One Installation Manuals

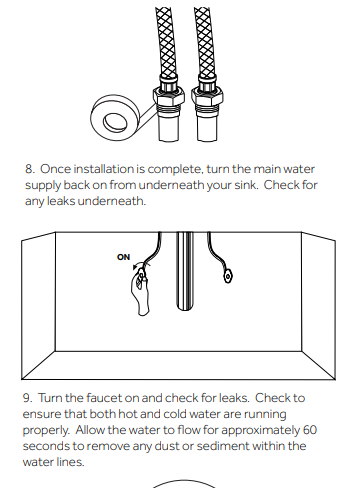
7. Apply plumber’s tape or thread sealant to the threading on each braided water line. Attach the water lines to your main water supply. Ensure that you are connecting the hot and cold lines accordingly.
Aprilia Chrome Classic Single Handle Bathroom Faucet, All in One Installation Manuals